


Many young athletes step onto the field with a strong desire to play but struggle to throw a baseball with accuracy and confidence. Coaches and parents often watch their players air-mail the ball over the first baseman’s head or bounce it well short of the target, unsure where to begin fixing it. The good news is that throwing skill is absolutely teachable, and the right progressions, mechanics knowledge, and pitch variety make all the difference. This guide walks you through everything from physical readiness to game-like drills and pitch types, giving you practical, evidence-based tools to move your young athlete forward.
Table of Contents
- Understanding the fundamentals: Mechanics and readiness
- Game-like progressions: Building the foundation for throwing
- Mastering pitch types: Different ways to throw a baseball
- Troubleshooting and refining your throwing approach
- Why game-like throwing progressions beat traditional drills for youth skill development
- Take your training further with proven tools for youth baseball throwing
- Frequently asked questions
Key Takeaways
| Point | Details |
|---|---|
| Game-like progressions | Movement-based, scenario-driven drills are the most effective way to teach youth throwing skills. |
| Mechanics matter | Proper shoulder flexibility, hip rotation, and athletic readiness are vital for safe and powerful throws. |
| Pitch type variety | Understanding and mastering different pitch types expands player options and effectiveness. |
| Troubleshooting errors | Identifying and correcting common mistakes helps prevent injury and boosts performance. |
| Effective training tools | Using the right equipment supports progression-based learning and improves long-term development. |
Understanding the fundamentals: Mechanics and readiness
Before you introduce any drill or progression, it pays to understand what actually happens during a throw. The overhead throwing motion is one of the most complex movements in all of sport, and it places enormous demands on the body.
Throwing requires flexibility, strength, coordination, and neuromuscular efficiency to execute safely and effectively. Neuromuscular efficiency simply means how well the brain communicates with the muscles to produce smooth, controlled movement. When any one of these physical qualities is underdeveloped, the throwing motion breaks down, leading to wild throws, reduced velocity, and a higher injury risk.
The motion itself follows a predictable sequence: wind-up, stride, arm cocking, arm acceleration, ball release, and follow-through. Each phase builds on the one before it. If a young athlete skips or rushes a phase, the whole chain is disrupted.
The role of shoulder flexibility and hip rotation
Two physical qualities stand out as especially important for youth pitchers: shoulder flexibility and hip rotation. Research confirms that youth pitchers show measurable hip and shoulder rotational range-of-motion patterns, with shoulder external rotation (ER) correlating strongly with hip internal rotation. What this means in plain language is that a tight hip limits how well the shoulder moves, and vice versa. Coaches who focus only on the arm are missing half the picture.
Here are the core physical prerequisites every youth thrower needs before learning advanced technique:
- Shoulder flexibility: Enough range of motion to cock the arm back without compensating with the trunk.
- Hip mobility: Freedom to rotate and stride without locking up at the pelvis.
- Core stability: The ability to transfer energy from the lower body through the trunk and into the arm.
- Grip strength: Enough hand strength to control the ball through release.
- Balance: The ability to stay under control during the stride and weight shift.
“The overhead throwing motion is not just an arm action. It is a full-body chain, and the weakest link determines the outcome.” This is why physical readiness checks should come before technical instruction for every new or young player.
Common challenges for youth athletes include immature coordination patterns, limited core strength relative to body size, fear of throwing hard, and poor body awareness. Understanding these obstacles helps coaches and parents set realistic expectations and choose drills that match the athlete’s current developmental stage.
One of the best ways to identify readiness gaps early is to review solid throwing mechanics tips and compare what you observe in a young player against proven technique standards. This gives you a concrete checklist rather than guessing.
Game-like progressions: Building the foundation for throwing
Once you understand the physical foundation, the next question is how to practice. This is where most coaches fall into a trap: they have kids stand in lines and throw back and forth for 15 minutes and call it a warm-up. That approach has very limited value for skill development.
Stationary vs. game-like drills: A direct comparison
| Feature | Stationary drills | Game-like progressions |
|---|---|---|
| Footwork involved | Minimal or none | Yes, always |
| Mimics game scenarios | No | Yes |
| Skill transfer to games | Low | High |
| Player engagement | Often low | Higher |
| Builds decision-making | No | Yes |
| Appropriate for beginners | Only initially | Yes, scaled to level |
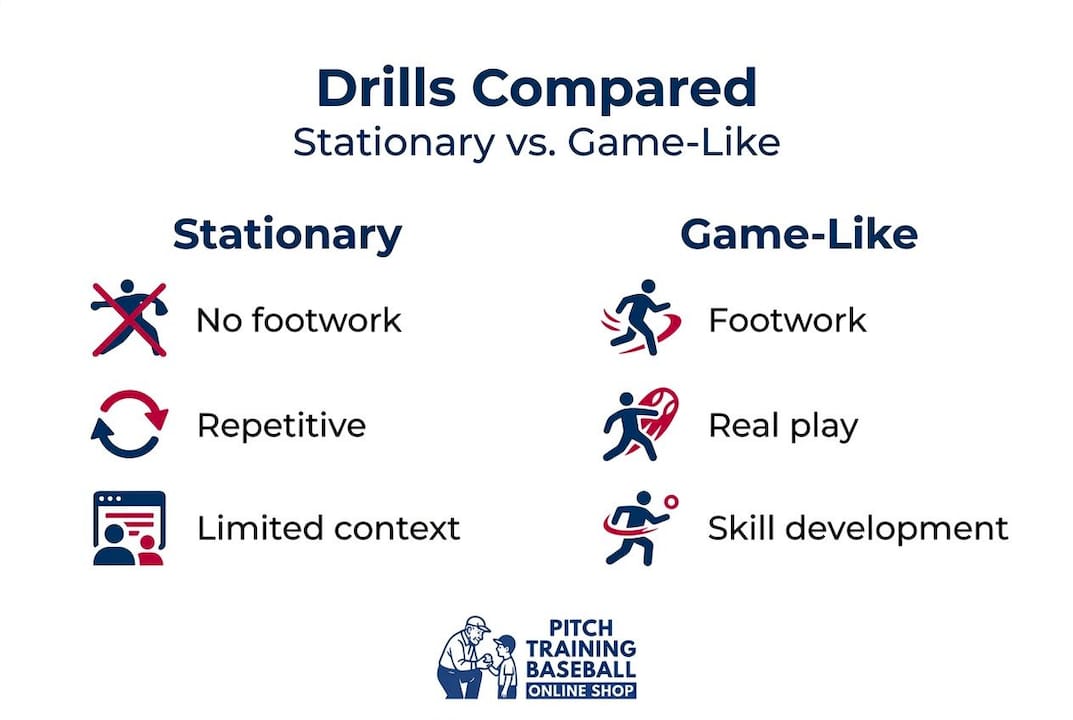
The comparison above makes it clear that stationary drills are not useless. They serve a place early in the learning process when an athlete needs to isolate a specific mechanical issue. But they should not dominate practice time.
A step-by-step game-like throwing progression
Here is a practical sequence you can run with youth players at any skill level. Start simple and add complexity as athletes improve.
- Shuffle and throw: Player starts 15 feet away, shuffles two steps toward the target, and throws. This trains momentum transfer into the throw.
- Funnel and throw: Toss a soft roller at the player. They field it with a funnel motion (glove to ground, scoop through) and make a two-hop throw to the target.
- Ground ball relay: Set up three players in a relay line. The first player rolls a grounder to the second, who fields and fires to the third. Rotate positions every three reps.
- Fly ball and throw home: Toss a pop-up 10 to 15 feet high. Player catches it, sets feet, and throws to a designated “home plate” target. Trains catching-to-throwing transition.
- Scenario throws: Call out situations (“Runner going to third!”) just before you roll or toss the ball. The player must decide the correct throw while under time pressure.
Pro Tip: Use small-sided games like 2-on-2 infield situations to naturally create throwing decisions. When players have to think and move before throwing, they develop game-ready instincts much faster than in a solo drill. Check out strategies for pitching zone progression to layer in pitch placement awareness alongside movement drills.
Coaches who want to diagnose where things break down should also review common youth pitching mistakes to understand which errors are most likely to appear after progressions begin and how to address them proactively.
Mastering pitch types: Different ways to throw a baseball
Once a young player has solid basic throwing mechanics and can execute game-like progressions with reasonable consistency, it makes sense to introduce different types of throws and, eventually, different pitch types.
Pitch selection is a core part of how pitchers “throw different ways,” with each pitch category relying on different velocity, movement, and deception mechanisms. Even at the youth level, understanding the basic differences between pitch types helps players become more purposeful and strategic on the mound.
Overview of major pitch types
- Fastball (four-seam): The foundation of every pitcher’s arsenal. Grip the ball across the widest seams with the index and middle fingers. The goal is maximum velocity and backspin for a straight, rising trajectory. This is the first pitch every player should master.
- Two-seam fastball: Gripped along the narrow seams. It runs slightly into or away from the batter and typically is 1 to 3 mph slower than the four-seamer. A good second step once the four-seam is comfortable.
- Changeup: Gripped deeper in the hand with a circle or three-finger grip to reduce velocity by 8 to 15 mph compared to the fastball. The arm action looks identical to a fastball, which is the entire point. Batters see fastball mechanics but get a slow pitch. Very safe for youth arms.
- Curveball: Uses topspin created by a pulling downward motion at release. The ball breaks downward, sometimes with lateral movement. Most coaches and sports medicine professionals recommend waiting until a player has mature bone structure (typically 14 or older) before emphasizing this pitch heavily.
- Slider: A hybrid between a fastball and a curveball, with later and sharper movement. Not recommended for early youth development due to the wrist/forearm stress.
Pro Tip: For players under 12, stick to the four-seam fastball and the changeup. These two pitches teach the core skills of velocity, control, and deception without putting unnecessary stress on developing arm structures. There is plenty of time for secondary pitches as athletes mature.
How pitch type impacts velocity and movement
Understanding why different pitches behave differently helps coaches explain what players are trying to achieve. Backspin creates a rising effect (or at least less drop) on a fastball. Topspin drives a curveball down. Side spin creates horizontal movement on sliders and two-seamers. The grip determines the spin, and the spin determines the movement.
A useful teaching point: Ask your pitcher to hold a ball with each grip and slowly rotate their wrist in the release direction. They will feel how each grip produces a different spin axis even before throwing a single pitch. This tactile awareness accelerates grip learning significantly.
For coaches focusing on balance and body control through different pitch deliveries, practical pitching balance tips offer detailed guidance on how to maintain consistent mechanics regardless of what pitch is being thrown.
Troubleshooting and refining your throwing approach
Even athletes who understand the fundamentals and practice great progressions will run into throwing problems. Knowing what to look for and how to fix it is a critical coaching skill.
The shoulder experiences very high angular velocities and forces during the throwing motion, which is exactly why mechanics and shoulder flexibility matter so much. Poor form does not just limit performance. It creates real injury risk, particularly for young athletes whose growth plates are still developing.
The most common throwing mistakes in youth players
- Incorrect arm slot: Many youth throwers drop their elbow below the shoulder at the moment of release, often called “short-arming.” This reduces velocity and puts excessive stress on the elbow. Cue: “Elbow up, above the ear on the back swing.”
- Poor grip: Gripping the ball in the palm rather than the fingertips kills control and velocity. Teach the two-finger fastball grip and check it every practice until it becomes automatic.
- No weight transfer: Players who stay back on their rear foot and throw only with their arm lose enormous power and accuracy. Cue: “Step and throw, not stand and throw.”
- Rushing the motion: Players who rush the stride phase never complete a full hip rotation, leaving power on the table. Video review from the side makes this very visible.
- Failing to follow through: Stopping the arm motion after release instead of completing a full follow-through causes both accuracy problems and increased arm stress. The arm should finish across the opposite thigh.
Simple verification checks for coaches
Work through this quick checklist after each throwing session:
- Watch the arm path from behind: Does the elbow reach shoulder height or above during cocking?
- Watch from the side: Does the front foot land before the ball is released?
- Check the follow-through: Does the throwing arm end near the opposite hip?
- Ask the player: Is there any elbow or shoulder pain? (This question must be asked every session, not only when something looks wrong.)
Pro Tip: Film your pitcher from two angles at the beginning of each new season, one from the side and one from behind the mound. Compare these clips against their end-of-season film. The visual progress is motivating for young athletes and gives you an objective improvement record rather than relying on memory alone.
“The number one job of a youth throwing coach is not to produce velocity. It is to build safe, repeatable mechanics that will allow the athlete to stay healthy and keep improving for years.”
A detailed throwing improvement guide can give coaches a more thorough framework for identifying and correcting specific error patterns across different age groups and skill levels.
Why game-like throwing progressions beat traditional drills for youth skill development
Here is a perspective that not enough coaches talk about openly: the heavy reliance on stationary throwing lines in youth baseball practice is one of the biggest barriers to developing confident, versatile throwers.
We have seen it at every level of youth coaching. Kids spend 20 minutes of practice throwing back and forth in parallel lines, and coaches check a box labeled “throwing practice.” Then the game arrives, and a player fields a grounder, hesitates, shuffles awkwardly, and launches the ball five feet wide of the bag. The line drill did not prepare them for any of it.
The real issue is that stationary drills remove all the context that makes throwing hard in the first place. Fielding requires reading the ball. Relay throws require reading the runner. Cutoffs require recognizing the play. When you remove movement and decision-making from practice, you remove the very things that make throwing in games challenging and developmentally rich.
Game-like progressions that include footwork and real-play scenarios are where genuine throwing skill is built for young athletes. This is not just our opinion. It aligns with what motor learning research shows about contextual practice: skills learned in realistic environments transfer better to competitive situations than skills practiced in isolation.
There is also a confidence dimension that coaches often underestimate. When a player successfully executes a catch-turn-throw sequence in a drill that looks like a real game play, they carry that memory into the game. Their nervous system has a template to follow. Players who only throw from a line have never rehearsed the full action, so they hesitate when it counts.
Additionally, game-like settings naturally reinforce safer mechanics. A player who has to shuffle into position before throwing is forced to set their base and engage their lower body. Players who throw from a flat-footed line are never trained to do this, and lazy arm-only throws become a habit.
Build your youth pitching zone progression around real scenarios from the beginning. Start small and simple, but always keep movement and context in the drill. That is what produces throwers who can actually perform when it matters.
Take your training further with proven tools for youth baseball throwing
Every progression and drill described in this guide becomes significantly more effective when you have the right tools to support consistent practice.
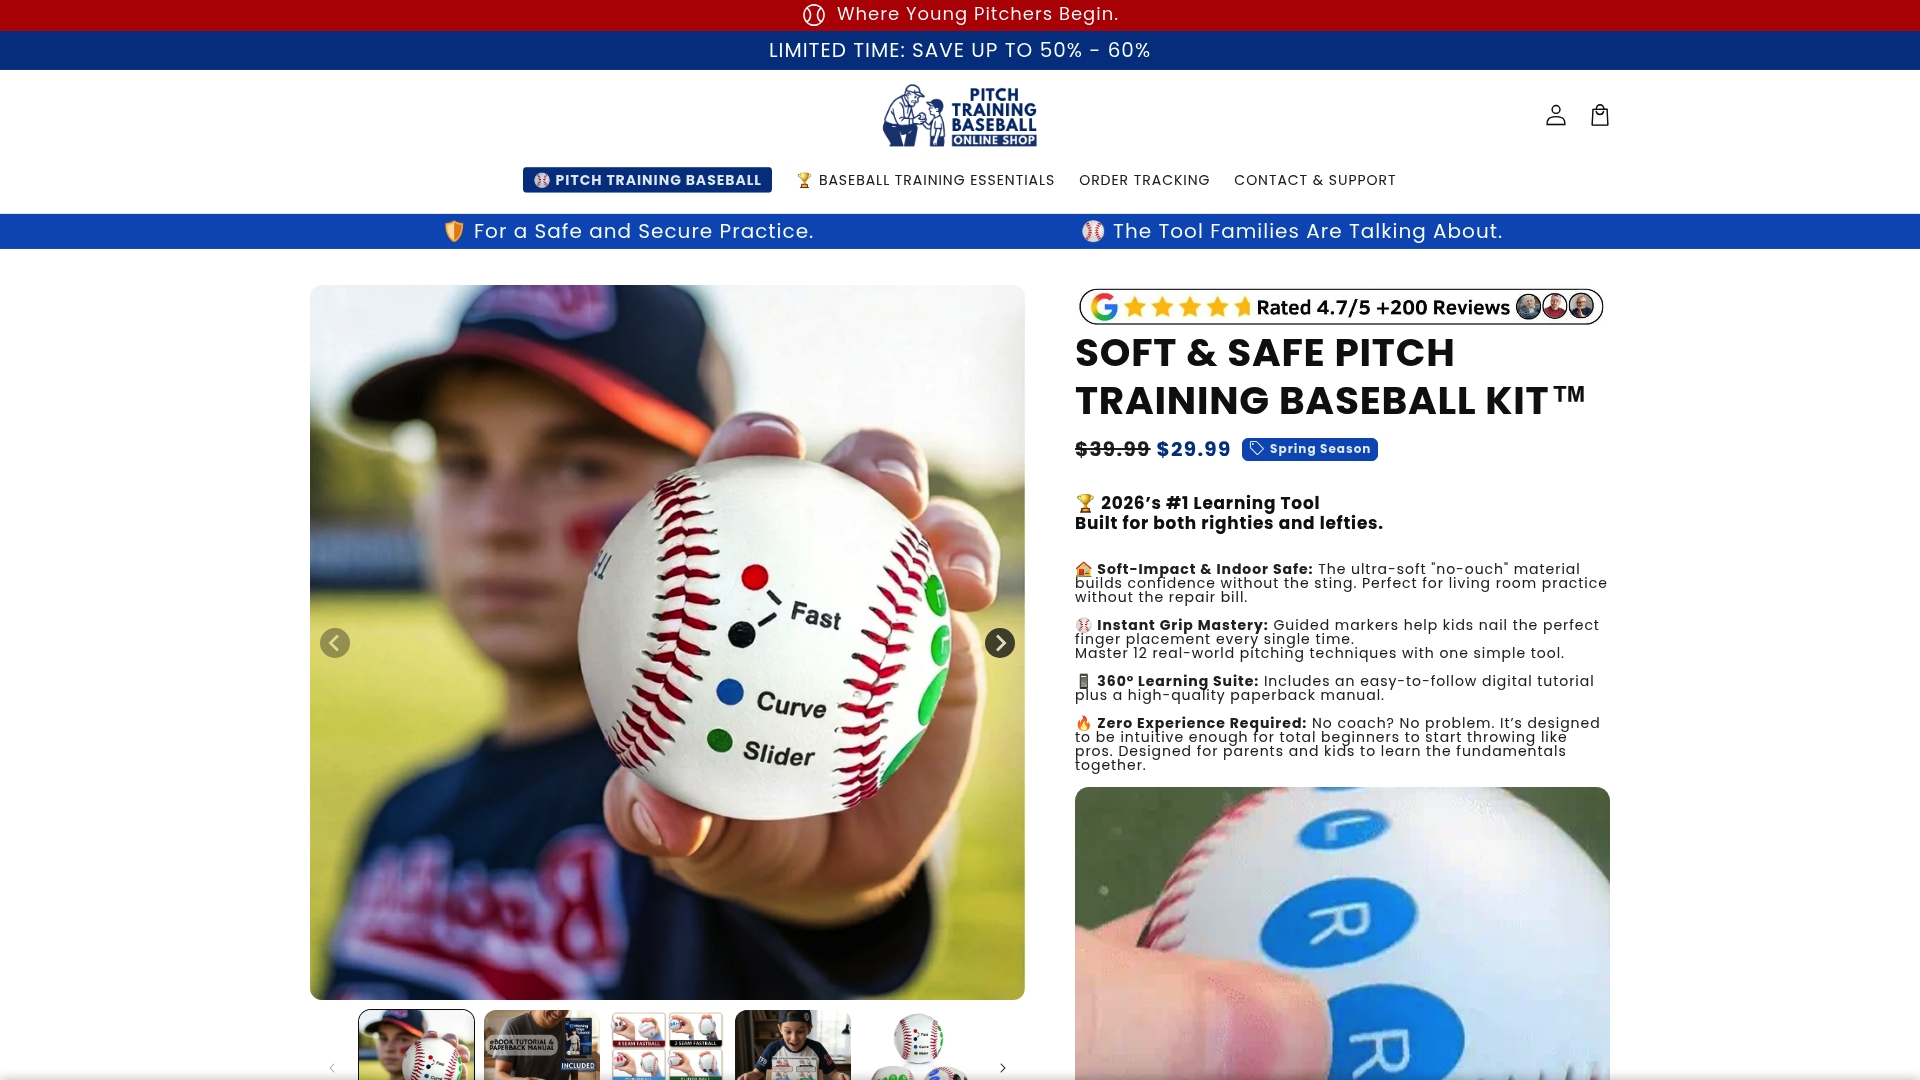
At Pitch Training Baseball, we design training equipment specifically for youth players and the coaches and parents who support them. Our pitching target net gives young pitchers an immediate visual target, with a clearly marked nine-zone strike zone that turns every session into purposeful, game-relevant work. Pair it with our pitch training baseball to develop grip strength and finger awareness from the first rep. For coaches working with softball athletes or multi-sport players, the pitch training softball offers the same progressive approach in a softball-specific design. Our tools are built to support the exact game-like progressions covered in this guide, giving young athletes and their coaches a practical, portable way to train smarter every session.
Frequently asked questions
What is the best drill for teaching youth players to throw a baseball?
Game-like progressions that include movement and footwork are the most effective, as they build real throwing skill and confidence that transfers directly to game situations.
How can coaches prevent shoulder injuries in young pitchers?
Focus on correct mechanics, shoulder flexibility, and limiting total throwing volume because the shoulder is subject to very high angular velocities and forces that can injure underdeveloped structures when form breaks down.
Why is shoulder flexibility important for throwing?
Shoulder flexibility allows proper range of motion throughout the throwing motion, with research showing youth pitchers’ shoulder ER correlates with hip internal rotation, meaning tightness in one area directly limits the other.
How many pitch types should youth pitchers learn early on?
Most young players should focus on one or two pitches, primarily the fastball and changeup, since pitch selection variety is only useful once consistent mechanics with core pitches are solidly established.
Recommended
- How to improve baseball throwing: techniques and tools – Pitch Training Baseball
- Fix youth pitching mistakes for better performance – Pitch Training Baseball
- Pitching Target Net with Colorful Strike 9-Zone – Pitch Training Baseball
- Pitching zone knowledge: Boost your young player’s skills – Pitch Training Baseball