


Solo pitching practice works best when it prioritizes deliberate, low-impact mechanical reps over max-effort throwing. Start with the towel drill, balance point holds, the knee drill, stride direction work, and short-distance target sessions. Keep intensity low until those mechanics repeat consistently, then add distance and speed.
TL;DR:
- Focus on low-impact mechanics drills like towel work and balance holds before adding distance and velocity work.
- Keep solo sessions short, around 30 to 40 minutes, with a structured routine that emphasizes quality over quantity.
- Use affordable equipment like target nets, soft balls, tape, and a balance beam to accurately measure progress at home.
- Track measurable results such as target accuracy, rep count, and session feel, and use video to analyze form and identifying flaws.
- Most effective youth practice involves a few focused sessions weekly, prioritizing mechanics and recovery over high-effort throwing.
Table of Contents
- Building A Quick 30 to 40 Minute Solo Routine
- Step-By-Step Drill Instructions And Coaching Cues
- How Do You Practice Pitching Without A Catcher?
- How Often Should Youth Pitchers Practice Solo?
- What Equipment Do You Actually Need At Home?
- Tracking Progress Without A Radar Gun
- A Coach’s Checklist For Every Solo Session
- What I Tell Parents Who Ask About Solo Practice
- Gear That Actually Supports These Drills
- Sources
Building A Quick 30 to 40 Minute Solo Routine
You don’t need a full hour to get real work done. A tight session beats a sloppy long one, and youth arms respond better to focused reps than marathon throwing sessions anyway.
Here’s a routine you can run in a backyard, driveway, or gym floor:
- Warm-up (5 to 8 minutes): Dynamic mobility (leg swings, arm circles, walking lunges), a few minutes of resistance band work for the shoulders, then light, easy tosses to get the arm moving.
- Mechanics block (15 to 20 minutes): Balance point holds for 8 to 10 reps, the towel drill for 10 to 15 reps, and the knee drill for 8 to 12 reps. Move slowly between drills so the arm never feels rushed.
- Accuracy block (5 to 10 minutes): Short-distance target throws or net work, focused on hitting specific zones rather than throwing hard.
- Cool-down (5 minutes): Banded shoulder care and light static stretching.
Younger pitchers, roughly ages 8 to 10, should shorten every distance and cut rep counts to suit their age and ability. A 9-year-old doesn’t need the same volume as a 13-year-old, even if the drill list looks identical.
Step-By-Step Drill Instructions And Coaching Cues
Each of these drills targets a specific mechanical piece, and they’re designed to work without a catcher or a bullpen partner.
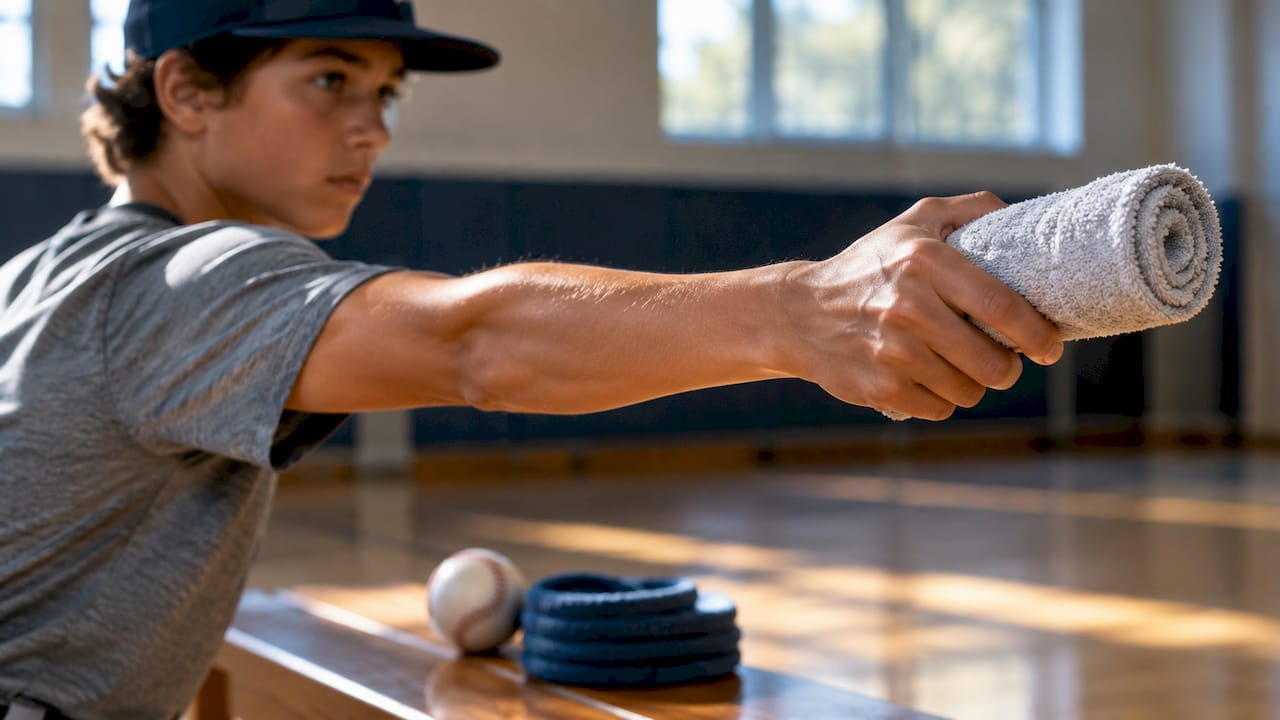
Towel drill. Roll a hand towel and hold it like a ball. Go through your full arm action and snap the towel at release point, aiming for an audible snap that signals full extension. Do 10 to 15 quality reps. If you don’t hear the snap, you’re cutting the motion short instead of finishing through it. Once the snap is consistent, add a slight step and repeat.
Balance point hold. Lift your front knee to your pitching balance position and hold it for 2 to 3 seconds before continuing your delivery. Do several repetitions. Keep your torso upright and your pivot foot stable underneath you. Wobbling here usually means the hips are drifting or the head is leaning early.
Knee drill. Kneel on your back knee with your front leg forward, then throw using only your upper body and arm action, no lower half. Do several repetitions. This isolates arm path and forces a clean release without leg drive to mask a flaw.
Stride direction drill. Lay down a piece of tape or chalk a line from your pivot foot straight to the target. Deliver 10 pitches and check where your front foot lands relative to that line. Landing on or inside the line, rather than crossing over it, corrects premature hip rotation and improves both accuracy and power transfer.
Flat-ground target work. Start closer than regulation distance, maybe 30 to 35 feet for younger pitchers, and pick a single specific location, low and away, for example. Track makes versus misses so you have a real number to compare next session.
Pro Tip: Quality beats quantity here. Ten to 15 disciplined towel drill reps build better habits than 40 rushed ones where the mechanics fall apart halfway through.
How Do You Practice Pitching Without A Catcher?
You don’t need a partner to get real feedback. Nets, painted strike zones on a fence or wall, hanging blankets, and even a bucket propped at the right height all give you something to aim at and a way to measure results.
- A pitching net with marked zones gives instant visual feedback on location.
- A taped or chalked square on a wall works if you don’t have a net.
- A hanging blanket softens contact and works well in a garage or basement.
- Start at a shortened distance, then move back in stages once you’re consistently hitting your spot.
Try the “spot challenge”: pick three specific locations, throw 20 total pitches split across them, and score how many land in each zone. Run it weekly and you’ll see actual movement in the numbers instead of guessing whether you’re improving.
How Often Should Youth Pitchers Practice Solo?
A few focused solo sessions per week with adequate rest days between high-effort throwing is effective for most youth pitchers. Coaches recommend deliberate, low-volume mechanics work rather than daily high-effort bullpens, and that guidance holds whether the reader is 10 or 15.
A smart warm-up sequence looks the same every time: dynamic mobility first, then resistance band activation, then progressively longer easy throws before any mechanics work begins.
Watch for these signs that a session should end early:
- Velocity or accuracy noticeably dropping compared to the start of the session
- Elbow or shoulder soreness that wasn’t there before
- Mechanics breaking down repeatedly despite corrections
- General fatigue affecting balance or focus
Excessive throwing without proper recovery is one of the primary injury risk factors for youth pitchers, and that risk climbs fast when a tired arm keeps throwing through fatigue instead of stopping. For a deeper breakdown of rest timing, Pitchtrainingbaseball’s guide on pitcher recovery covers age-specific rest windows.
What Equipment Do You Actually Need At Home?
You can improvise most of this. A target net, a set of soft practice balls, tape or chalk for marking strike squares, and a 2x4 or balance beam for balance drills cover almost every drill above.
- Indoors, pad any wall you’re throwing toward and keep a safe distance from windows or breakables.
- A soft-toss ball reduces risk when working in tight spaces like a garage.
- A dedicated net or rebounder is worth the investment once you’re doing regular target work; a bedsheet taped to a wall works fine for occasional sessions but wears out fast under real reps.
- Save a rebounder purchase for pitchers doing three-plus sessions a week; casual practice doesn’t need it yet.
Tracking Progress Without A Radar Gun
Track what you can actually measure without expensive equipment: hits on target out of total throws, how consistently you hit your balance point, total reps completed, and how hard the session felt on a simple 1 to 10 scale.
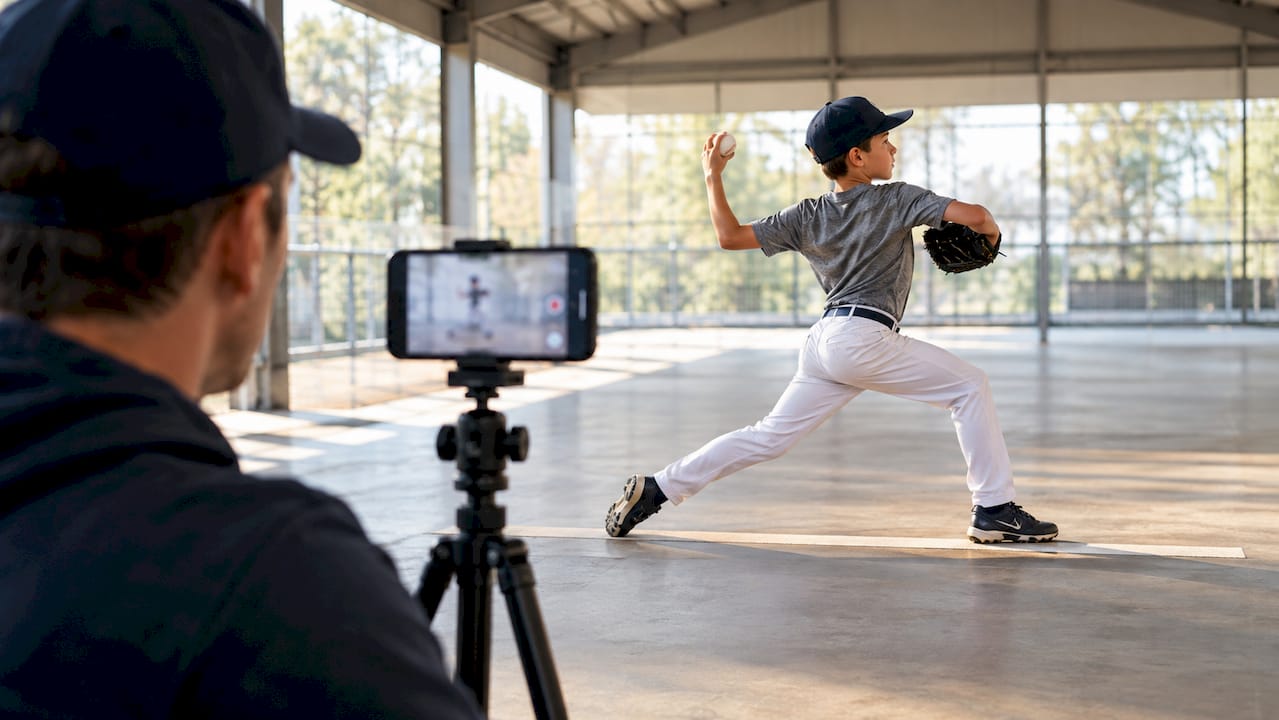
Video is the fastest way to catch what you can’t feel in the moment. A single slow-motion clip from the side or front angle can reveal an elbow drop or a stride problem more clearly than several live coaching cues. Film both angles, then check four things: balance point height, stride foot landing versus the target line, arm slot at release, and follow-through completion.
On velocity: percentile speed ranges exist for early teen pitchers, but treat any benchmark as a loose reference point, not a target to chase. Velocity benchmarks work best as a developmental gauge rather than a hard diagnostic, and mechanics consistency matters more than the number on a gun at this stage.
A Coach’s Checklist For Every Solo Session
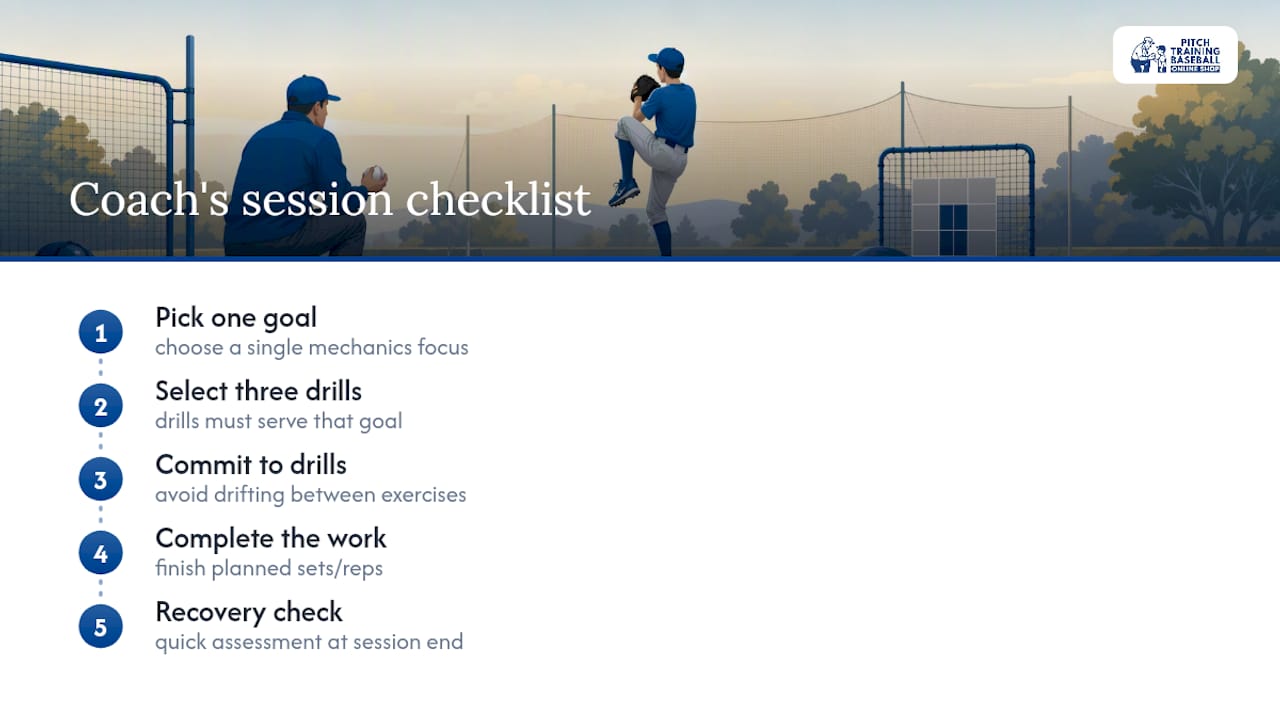
Before you throw a single pitch, pick one goal for the session and three drills that serve it, then commit to them instead of drifting between exercises. End every session with a quick recovery check.
What I Tell Parents Who Ask About Solo Practice
Small daily habits beat one long weekend session almost every time. Fifteen focused minutes, four days a week, does more for mechanics than a two-hour grind on Saturday. Chase form and recovery, not the radar gun. Keep a simple log, film a clip now and then, and let the numbers tell you what’s actually improving.
— Albert
Gear That Actually Supports These Drills
A strike-zone target net turns the flat-ground and spot-challenge drills from guesswork into something you can score every time. Pitchtrainingbaseball builds its pitching target net with a colorful 9-zone strike layout specifically for that kind of repeated solo accuracy work, with a setup light enough for a backyard or driveway.

Soft practice balls matter more than people expect. Cheap hardballs beat up walls and joints alike, and the wrong ball changes how a young arm actually feels contact and release. A set like Pitchtrainingbaseball’s practice balls is built for the rep counts this kind of routine calls for, without the wear and tear of full-weight balls on every throw.
If you’re ready to put a real target in front of your next session instead of a taped square that peels off the wall, check out the strike-zone net and get your accuracy block dialed in this week.
Sources
- Pitching drills - WRSSBA
- Baseball pitching drills - Veo
- Youth pitcher bullpen frequency guide - Veloreset
- GAMEGA1 - University of Florida PMR