


Every parent who has watched their child wind up on the mound knows the feeling: you want them to get better, throw harder, and earn that starting spot, but you also lie awake wondering whether all those extra throws are doing more harm than good. Balancing skill development and physical safety is the central challenge of youth baseball pitching, and most families don’t get a clear roadmap from coaches alone. This article covers evidence-backed drills, age-appropriate routines, pitch-count safety rules, and practical tips so you can support your young pitcher with confidence.
Table of Contents
- Criteria for effective pitching workouts for youth players
- Five essential pitching drills for youth baseball
- Integrating pitching workouts with full-team practice
- Understanding pitch-count rules and safe pitching frequency
- Making practical pitching workout choices for your child
- Why mechanics-first beats “throw harder” for youth pitching success
- Recommended tools and training resources for youth pitching
- Frequently asked questions
Key Takeaways
| Point | Details |
|---|---|
| Mechanics matter most | Focusing on balance, stride, and arm path builds safer and more effective pitchers. |
| Pitch-count rules protect | Limiting throws and following rest guidelines keeps young arms healthy. |
| Evidence-backed drills | Using age-appropriate, proven drills maximizes skill growth and confidence. |
| Delay advanced pitches | Avoid curveballs and sliders until recommended ages to reduce injury risk. |
| Integrate, don’t isolate | Mix pitching routines into whole-team practice for balanced skill development. |
Criteria for effective pitching workouts for youth players
Before you sign your child up for any pitching program or buy any training equipment, it helps to understand what actually makes a youth pitching workout worthwhile. The answer isn’t volume. More throws does not automatically mean more improvement, especially for players under 14.
Mechanics come first. A well-designed workout for young pitchers focuses on repeatable mechanics cues like balance, stride direction, arm path, command, and finishing in a solid fielding position. According to a VEO youth pitching guide, age-appropriate drills built around these mechanical priorities produce far better results than simply telling kids to “throw harder.” When a 9-year-old grooves a clean arm path through hundreds of reps, that pattern becomes automatic, setting up every future velocity and accuracy gain on a solid foundation.
Safety rules shape the workout structure. Pitch counts and rest days are age-dependent and non-negotiable. Overuse is the single most preventable source of youth arm injuries, and any workout plan that ignores these limits puts your child at real risk. A good pitching workout fits comfortably within those guardrails rather than trying to push past them.
Here are the core criteria every effective youth pitching workout should meet:
- Mechanics-focused: Each drill targets a specific movement pattern, not just general throwing.
- Age-appropriate volume: Rep counts respect daily pitch limits and recovery needs.
- Progressive difficulty: Drills start simple and add complexity as the player matures.
- Delayed breaking pitches: Curveballs and sliders should not appear in any workout for players under the recommended age thresholds.
- Confidence-building: Drills should be achievable, giving young players success experiences that build buy-in.
Learning about pitching balance for youth is a great starting point because balance underlies almost every other mechanical skill. You can also find practical parent safety tips that help you set expectations and monitor your child’s workload throughout the season.
With the core criteria in mind, let’s look in detail at the most recommended pitching drills for youth baseball.
Five essential pitching drills for youth baseball
Not all drills are created equal. The five drills below are widely recognized by coaches and player development specialists because each one isolates a critical mechanical skill and can be performed safely within age-appropriate volume limits. The VEO youth pitching guide ties each drill to an age group and specific mechanical priority, making them a strong foundation for any practice plan.
The drills in detail
-
Balance point hold (ages 7–10). The player lifts their stride leg to the balance position and holds it for two to three seconds before completing the delivery. This drill teaches the body to find and feel a stable base before any forward momentum begins. Young pitchers who skip this step often rush, lose their center of gravity, and develop compensatory arm patterns that become hard to fix later. Run 10 to 15 reps per session, focusing on holding without wobbling.
-
Towel drill (ages 9–13). The pitcher holds a small folded towel in their throwing hand and goes through the full motion, trying to snap the towel against a target (typically a partner’s glove or a marked spot on a fence). Because there’s no ball, arm stress is minimal and the player can focus entirely on arm path and follow-through extension. This drill is excellent for detecting a short arm action or a lazy finish, two of the most common mechanical flaws in this age group.
-
Flat-ground command drill (ages 10–14). Working at a shorter distance than full pitching range, the player throws to a target from flat ground, aiming for specific zones. The goal is precision, not power. This drill trains the brain and body to communicate about where the ball is going before velocity enters the picture. Coaches who use this drill regularly report that players gain measurable accuracy gains within just a few weeks of consistent reps.
-
Stride direction drill (ages 11–14). A line of tape or a painted line is placed from the rubber toward home plate. The pitcher focuses on landing their stride foot on or just inside that line. Poor stride direction (opening up too early or stepping across the body) is one of the most common causes of both mechanical inefficiency and elbow stress. This drill fixes it visually and kinesthetically. A few minutes of this drill at the start of a bullpen session can correct a bad habit faster than verbal reminders alone.
-
Fielding position drill (all ages). After releasing the ball, the pitcher immediately drops into a proper fielding stance, glove up and ready. This drill reinforces the athletic finish and teaches young pitchers that the delivery doesn’t end at release. It also builds game readiness because pitchers who finish in a poor position become a defensive liability.
Quick reference: drill comparison
| Drill | Age range | Mechanical focus | Reps per session |
|---|---|---|---|
| Balance point hold | 7–10 | Stability and load | 10–15 |
| Towel drill | 9–13 | Arm path and follow-through | 15–20 |
| Flat-ground command | 10–14 | Accuracy and zone command | 20–30 |
| Stride direction | 11–14 | Stride alignment | 10–15 |
| Fielding position | All ages | Athletic finish and defense | Every pitch |
Pro Tip: Film your child from the side and from behind during the towel drill and the stride direction drill. Slow-motion video on a phone is one of the best coaching tools available, and it lets your child see exactly what their body is doing rather than relying on feel alone.
For more context on throwing coaching tips and throwing improvement methods, these resources help connect individual drills to broader throwing development goals.
Once you know the signature drills, it’s critical to understand how pitching routines are integrated into overall baseball practice.
Integrating pitching workouts with full-team practice
One of the biggest mistakes well-meaning parents and coaches make is treating pitching work as completely separate from the rest of practice. When a pitcher spends 20 minutes on the bullpen mound and then stands around while the rest of the team does fielding drills, that player loses valuable repetitions and, more importantly, the natural connection between pitching and playing defense.
A practical team approach, as outlined by GoRout’s youth practice plan content, treats bullpen and accuracy-focused pitching work as one component of a rotating practice structure. Pitchers rotate through bullpen work, fielding stations, and hitting drills within the same practice session. This keeps everyone engaged, prevents boredom, and teaches pitchers to transition mentally and physically between pitching and fielding.
Here’s how to blend pitching into a complete practice session:
- Open with mechanics warmup: Five minutes of balance point holds and towel drills before any live throwing.
- Run a short bullpen block: 15 to 20 pitches focused on command, not max effort.
- Rotate to fielding: Pitchers work covering first base, fielding bunts, and handling comebacker grounders.
- Close with command competition: Set up a zone target and have pitchers compete for accuracy in the final minutes of practice.
“Accuracy matters just as much as velocity for youth pitchers. A 10-year-old who consistently hits the target with 65% of pitches will get more outs than one who throws harder but has no idea where the ball is going.”
Pro Tip: Keep a simple practice log. Note how many pitches each player threw, which drills you ran, and any mechanical notes. Over a six-week period, patterns become obvious and you can adjust drills to target each player’s specific weakness.
Building game-like pitching practice habits during regular sessions is one of the most effective ways to transfer drill work into real-game performance. Pair this with safe training practices to ensure your integrated approach doesn’t accidentally push players past safe limits.
Even well-structured drills and practices must be coordinated with youth baseball’s strict pitch-count safety rules.
Understanding pitch-count rules and safe pitching frequency
Pitch counts are not suggestions. They are the most important safety framework in youth baseball, and Little League’s pitch-count guidance exists specifically to reduce overuse injuries in developing arms. Overuse is the most common cause of arm damage in young pitchers, and many of those injuries happen because parents or coaches simply weren’t tracking the numbers.
Here is a simplified view of daily pitch limits and required rest days by age group:
| Age group | Daily pitch limit | Rest required after 1–20 pitches | Rest required after 21–35 pitches | Rest required after 66+ pitches |
|---|---|---|---|---|
| 7–8 | 50 | 0 days | 1 day | N/A |
| 9–10 | 75 | 0 days | 1 day | 3 days |
| 11–12 | 85 | 0 days | 1 day | 3 days |
| 13–16 | 95 | 0 days | 1 day | 4 days |
| 17–18 | 105 | 0 days | 1 day | 4 days |
Source: Little League International pitch-count regulations.
Understanding these numbers puts you in a position to advocate for your child when a coach pushes for one more inning. You are not being overprotective. You are following evidence-based safety guidance designed by sports medicine professionals.
Breaking pitches add extra risk. Breaking pitches place additional stress on the shoulder and elbow for young players. The American Academy of Pediatrics recommends not introducing curveballs until age 14 and sliders until age 16. Any pitching workout that introduces these pitches earlier is not age-appropriate, regardless of how talented the player is.
Steps parents can take to monitor pitching frequency safely:
- Keep a simple notebook or phone spreadsheet to log pitches thrown in every game and every practice session.
- Total pitches across both games and practice on the same day, since the arms do not distinguish between competitive and training throws.
- Enforce rest days even when your child says they “feel fine.” Overuse injuries often build silently before pain appears.
- Ask the coach directly how pitch counts are being tracked at practice.
- Share the Little League pitch-count chart with any coach who seems unaware of the regulations.
Learning more about boosting arm strength safely gives you a fuller picture of how to build velocity over time without cutting corners on arm health.
With all these factors in play, parents still have to make practical decisions about which workouts and routines best fit their child’s skill, age, and safety profile.
Making practical pitching workout choices for your child
Now that you understand the criteria, the drills, the integration strategies, and the safety rules, the real question is: how do you put this together for your specific child? The answer starts with honest assessment.
Match the drill to the developmental stage. A 7-year-old who is just learning to love the game needs balance point holds and fun target practice, not stride direction tape lines and command competitions. A 13-year-old with two years of organized pitching experience is ready for flat-ground command work and fielding position finishing. Pushing drills beyond a player’s cognitive and physical readiness creates frustration, not growth.
Balance skill gain with arm care. The most effective youth pitching improvement plans, as emphasized by the VEO youth pitching guide, are mechanics-first with controlled, low-risk reps. Only after those mechanics are grooved should you add volume or difficulty. Think of it like building a house: you don’t add the second floor before the foundation sets.
Here’s a simple framework for making workout decisions:
- Age 7–9: Focus on fun, basic mechanics (balance and arm path), and very low pitch volumes. No more than two structured pitching sessions per week.
- Age 10–11: Introduce command drills, short bullpen sessions, and begin tracking pitch counts seriously.
- Age 12–13: Add stride direction work and fielding position finish. Consider light resistance band warmup exercises for shoulder health.
- Age 14 and up: Introduce curveball mechanics only after fastball command is solid. Continue mechanics-first even as velocity goals become more relevant.
Build rest into the plan. Rest is not the absence of training. It is where adaptation happens. Muscles repair, neural patterns consolidate, and young arms recover. At minimum, pitchers should have two full rest days per week during the season and a longer off-season break of at least two to three months with no overhead throwing.
Pro Tip: If your child is working on a specific mechanical flaw, such as an inconsistent arm path, focus every drill session on that single issue for two to three consecutive weeks before moving on. Trying to fix everything at once is the fastest way to fix nothing.
For players ready to sharpen their grip mechanics alongside their delivery work, proper pitching grip guidance provides a practical next step in the skill-building sequence.
Now let’s share an editorial perspective that challenges some conventional approaches to youth pitching workouts.
Why mechanics-first beats “throw harder” for youth pitching success
Here’s the uncomfortable truth most youth baseball culture won’t say out loud: the obsession with velocity in young pitchers is doing more damage than anything else in the sport. Walk onto any little league field and you’ll hear parents and coaches pushing kids to “air it out,” “put something on it,” or “show what you’ve got.” That culture feels motivating, but it is functionally backwards.
Velocity is a byproduct of clean mechanics, adequate physical maturity, and well-developed arm strength built over years. It is not a skill you can train directly at age 10 without creating compensatory patterns that either lead to injury or require years of remediation later. We have seen players who were the hardest throwers on their 11-year-old team get shut down at 14 with UCL damage, while the kid who “only” focused on mechanics and command became the most reliable pitcher on the high school varsity roster.
The parents who get the best long-term results from their young pitchers are the ones who are genuinely patient with the process. They celebrate a pitch that hits the target, not one that just blew past it. They focus sessions on the towel drill and the stride direction tape rather than radar gun readings. That approach feels slow in the short term, but it is the only approach backed by the evidence.
The other piece of this that rarely gets discussed honestly is that baseball training injury prevention is fundamentally a parent responsibility, not just a coach responsibility. Coaches manage a whole team. You manage one player. You are the one who sees every throw in practice, every backyard session, every extra rep your kid throws because they want to impress someone. You are in the best position to enforce the pitch count, enforce the rest days, and enforce the mechanics-first mindset every single session.
The best youth pitching programs in the country do not look exciting from the outside. They look like kids slowly working through balance holds, throwing at targets from close range, and finishing in a fielding position after every rep. That is what durable, successful youth pitchers are built on.
Recommended tools and training resources for youth pitching
The drills and safety guidelines in this article are most effective when your child has the right equipment to practice with at home or at the field.
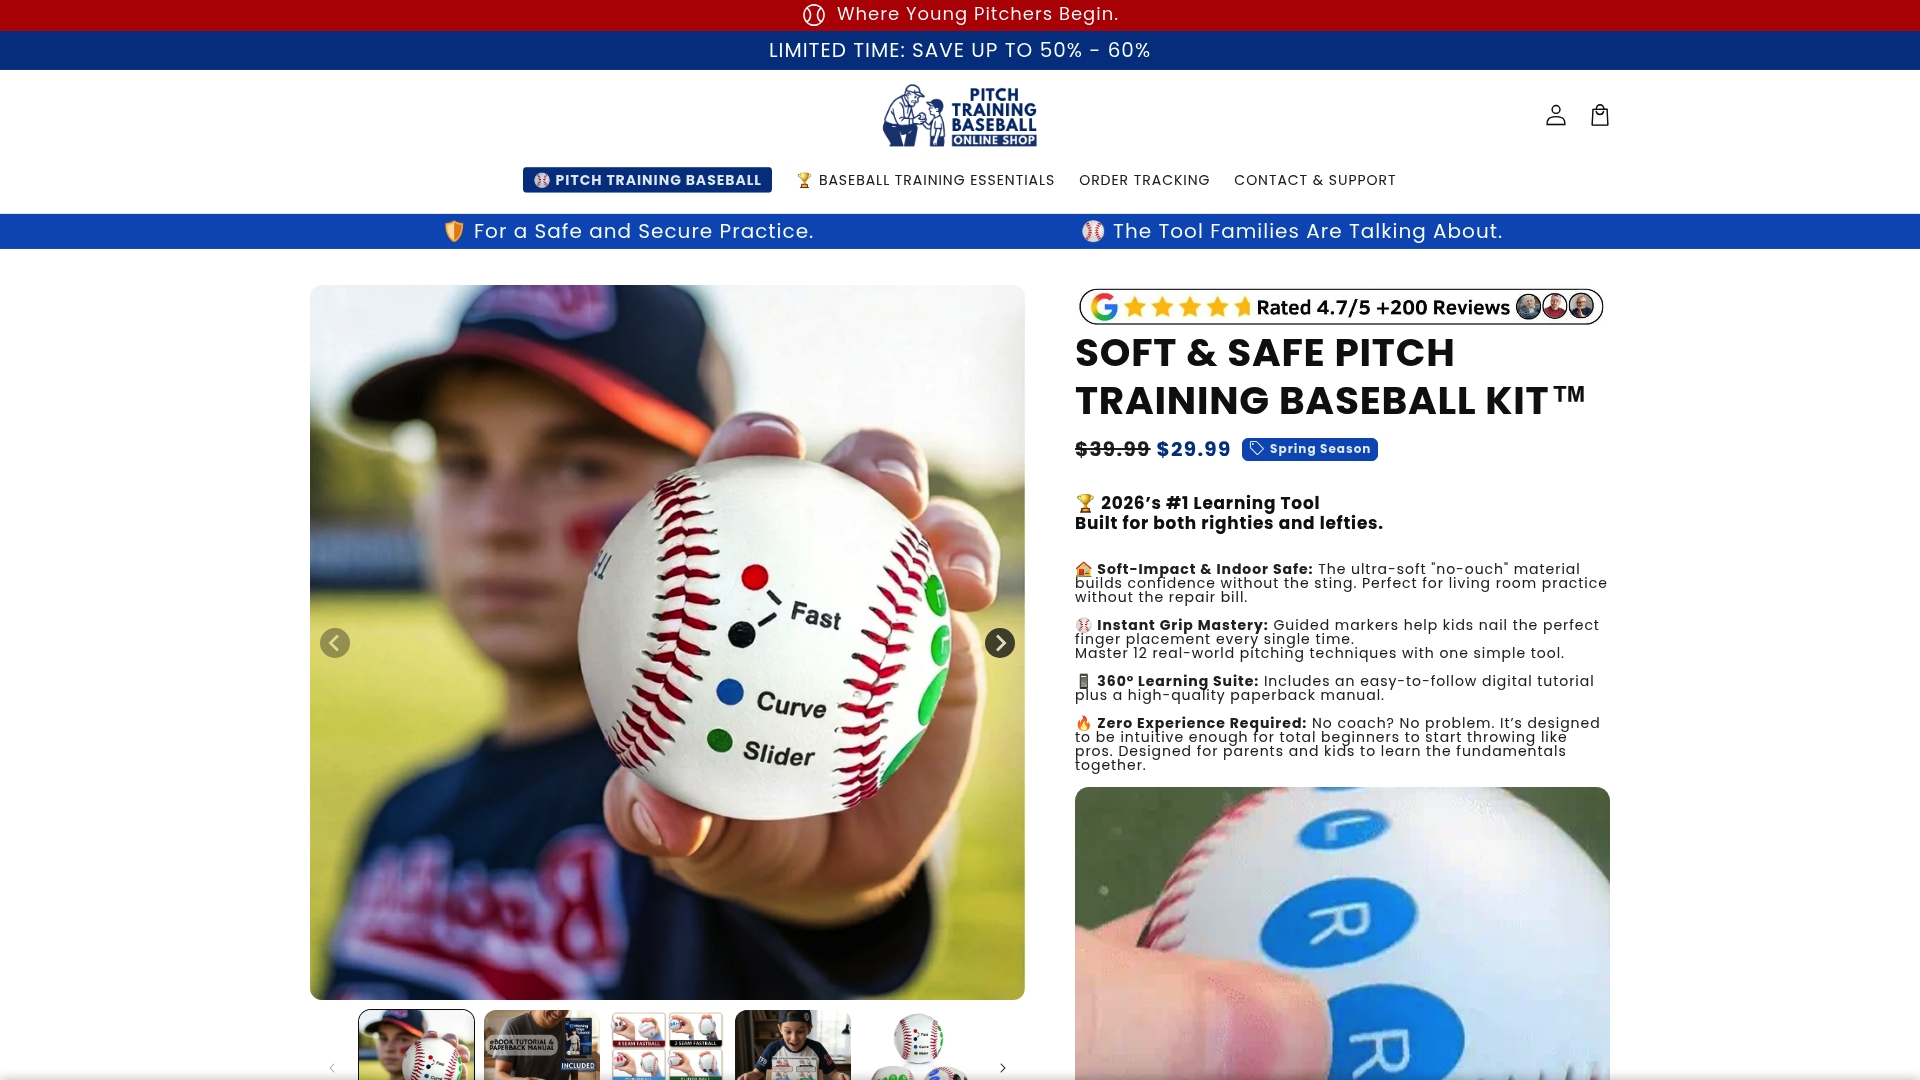
At Pitch Training Baseball, we design products specifically for youth pitchers working on mechanics, accuracy, and arm development. Our pitch training baseball is built to reinforce proper grip and release on every throw, making it a natural complement to the flat-ground command and stride direction drills covered above. For players in softball programs, the softball training product brings the same mechanics-first approach to the diamond. And for parents looking to create a consistent target zone at home, our pitching target net gives young pitchers instant visual feedback on every rep, making command practice more focused and more motivating.
Frequently asked questions
What are the best pitching drills for a 10-year-old baseball player?
For age 10, balance point hold and flat-ground command drills are highly effective, targeting stability and accuracy, which are the two most important mechanical priorities at that developmental stage, according to the VEO youth pitching guide.
How many pitches should a child throw in practice and games?
Pitch counts depend on age, and Little League’s daily pitch limits set the maximum at 75 pitches per day for ages 9–10, 85 for ages 11–12, and 95 for ages 13–16, with rest days required after higher-volume outings.
When can young pitchers start throwing curveballs and sliders?
Curveballs are not recommended until age 14 and sliders until age 16, as breaking pitches place the greatest stress on a young pitcher’s shoulder and elbow.
Is it safe for youth pitchers to train year-round?
Year-round training should always include planned rest periods, because overuse risk is managed by limiting total throws across both games and practices, and young arms need recovery time to stay healthy long-term.
Recommended
- How to throw a baseball: proven youth coaching tips – Pitch Training Baseball
- How to improve baseball throwing: techniques and tools – Pitch Training Baseball
- Top safe baseball training practices to prevent youth injuries – Pitch Training Baseball
- Game-like pitching practice: Raise youth baseball skills fast – Pitch Training Baseball