


A properly assembled 9-hole pitching target net gives coachable, pocket-level feedback and can be ready for safe use in one focused session, usually 20 to 40 minutes. Expect a few steps, like frame tensioning, to go faster and safer with two people. This guide walks through the parts list, numbered assembly, strike zone alignment, safety checks, drills, and upkeep, plus where a ready-made kit beats building your own.
TL;DR:
- Most nine-hole pitching nets can be assembled and ready for practice within 20 to 40 minutes with minimal tools and time, especially if two people assist during tensioning steps.
- Proper ground placement requires at least 15 feet of clearance, and the surface type affects anchoring methods, with grass or turf being easier on stakes than concrete or asphalt.
- Correct net and frame tensioning in a cross pattern helps maintain pocket alignment and ensures consistent rebound behavior during solo drills.
- The nets are ideal for targeted, zone-based practice but do not simulate live-hit or swing reactions, so they should be supplemented with live batting or catcher drills.
- For quick setup and durability, consider kit options with sturdy frames, inclusive anchoring systems, and clear return policies, especially for youth baseball and softball distances.
Table of Contents
- What You Need Before Starting Your Pitching Target Net Setup
- Step-by-Step: Assembling the Frame and Net
- How Do You Align the Strike Zone Correctly?
- Safety Checks and Anchoring Mistakes to Avoid
- Drills That Make the Nine Pockets Worth It
- Keeping Your Net in Practice-Ready Shape
- Why Youth Coaches Keep Coming Back to Nine-Pocket Nets
- A Coach-Ready Pitching Net Option Worth Considering
- Sources
- FAQ
What You Need Before Starting Your Pitching Target Net Setup
Before you touch a single pole, spread out the box contents and confirm nothing’s missing. Most 9-hole nets, including the BPTRAIN9 and Vivohome models, ship with a similar core kit.
- Upper and lower frame tubes (often color-coded or numbered for orientation)
- Two to four support legs with push-button locking pins
- The netting panel with nine cutout pockets and a strike-zone border
- Corner padding or sleeves that protect the frame joints
- Twine, bungee cords, or clips for lacing the net to the frame
- A hardware bag with pins, caps, and sometimes a small wrench
You won’t need much beyond your hands for most steps, though a rubber mallet helps seat stubborn leg pins, and work gloves protect against pinched fingers during tensioning. The Vivohome manual flags at least one or two steps as easier with a second person, mainly where the frame is under load.
Pick your spot before you unpack. You want at least 15 feet of clearance behind the net for the ball’s travel and rebound, a level surface, and nothing overhead like low branches or gutters. Grass and turf both work fine; concrete or asphalt is harder on stakes and tends to scuff netting faster. If you’re setting up in a backyard with a play area nearby, it’s worth checking surface safety guidance for backyard play zones before finalizing placement, especially if younger siblings will be nearby during practice.
Step-by-Step: Assembling the Frame and Net
Assembly follows a logical order: frame first, legs second, padding third, net last. Here’s the sequence that matches manufacturer guidance from both BPTRAIN9 and Vivohome instructions.
- Lay out every piece on a flat surface and match part numbers or colors against the included parts list.
- Connect the upper frame sections by sliding the connecting tubes together until the push-buttons click into the locking holes.
- Join the lower frame the same way, forming the base rectangle the legs will attach to.
- Insert the support legs into the frame’s leg sockets, pushing until each pin seats fully. This is the step where a second set of hands makes the biggest difference, since the frame can flex while you’re pushing.
- Attach the corner padding, making sure the strike-zone border or colored panel faces forward, toward the pitcher, not toward the backstop side.
- Lace or clip the netting onto the frame using the included twine or bungee cords, working corner to corner rather than one side at a time.
- Tension the net evenly, pulling each side snug but not stretched tight. Overtightening pulls pockets out of shape and shortens the netting’s life.
- Anchor the base with the included feet, then add ground stakes or sandbags if you’re setting up outdoors.
- Stand back and check the frame is square, the net is taut without sagging, and no hardware is left in the bag.
Pro Tip: Tension the net in a cross pattern, top left then bottom right then top right then bottom left, instead of working around the perimeter in order. It distributes stress evenly and keeps the nine pockets aligned instead of pulling slightly diagonal.
A frame that’s tensioned unevenly won’t just look crooked. It changes how the ball rebounds, which matters a lot once you start running solo drills that depend on predictable bounce-back.
How Do You Align the Strike Zone Correctly?
Alignment comes down to two numbers: height and distance. Get those right and the rest of your pitching net setup falls into place.
- Youth baseball (ages 9 to 12): roughly 40 to 46 feet from the pitching rubber
- Youth softball: typically 35 to 40 feet, depending on league
- High school and adult baseball: the regulation 60 feet 6 inches, though most backyard setups shorten this for space
Measure from where the pitcher’s front foot lands, not from where they start their windup, since that’s the release point that actually matters for target accuracy. Center the net horizontally on your mound or practice line, then check the pocket height against a batter’s actual stance, the belt-to-knees zone should line up with the middle row of pockets.
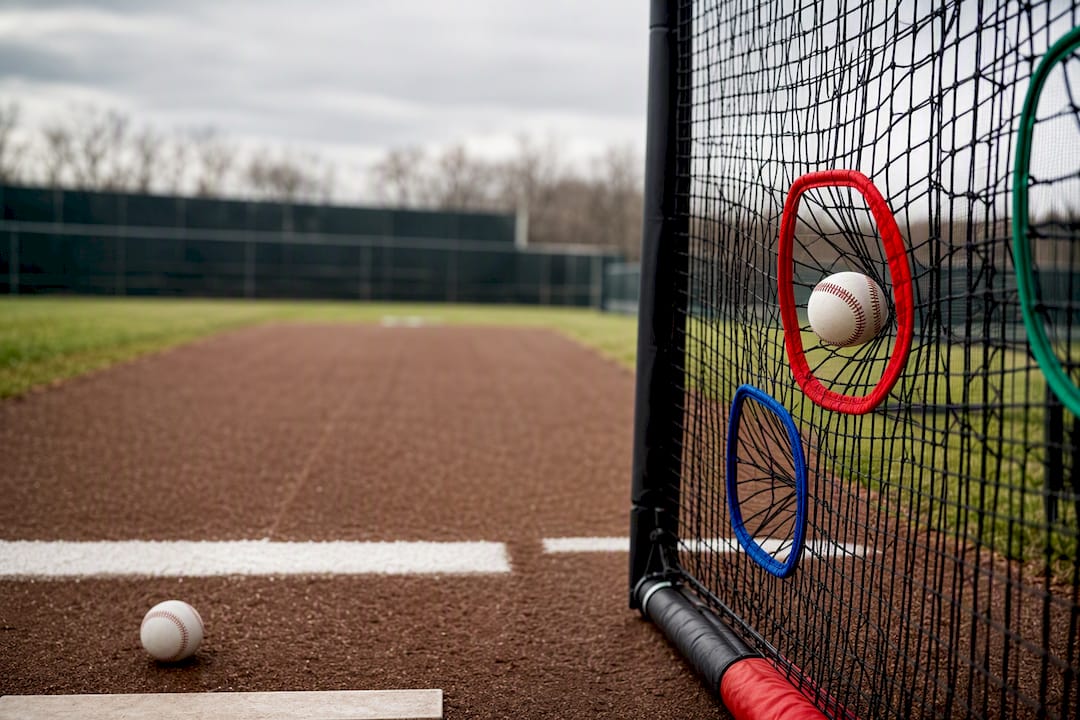
The Pitching Target Guide notes that instant visual feedback from correctly placed pockets is one of the biggest reasons these nets speed up accuracy work compared to throwing at a plain backstop. Once everything’s set, throw five test pitches at a middle pocket. If the ball consistently lands high or to one side, the net’s leaning or your distance measurement was off, not your mechanics. Re-level before blaming the pitcher.
Safety Checks and Anchoring Mistakes to Avoid
Tension-loaded frames aren’t dangerous once assembled, but they can be while you’re building them. A partially connected frame under spring tension can snap back if a pin isn’t fully seated, which is exactly why manufacturers recommend two people for the leg and tensioning steps.
- Never force a bent or misaligned pole. Realign the joint before pushing further.
- Use ground stakes on grass or dirt, and switch to sandbags or weighted plates on hard surfaces where stakes won’t hold.
- Disassemble or lay the net flat during high wind rather than leaving it standing unattended.
- Inspect padding orientation. Reversed padding exposes frame joints that can snag netting or clothing.
- Check that the netting has no loose lacing points before the first pitch of every session.
Pro Tip: Keep the hardware bag until the season’s over. Losing one push-button pin is the most common reason coaches end up with a wobbly leg they can’t fully secure.
Drills That Make the Nine Pockets Worth It
The nine pockets exist for one reason: to turn vague “throw strikes” instruction into specific, measurable targets. Here’s how to structure practice around them.
- Corner focus (10 minutes): Throw 10 pitches at each top corner pocket, aiming for at least 6 out of 10 to land clean. This builds command on the pitches hitters chase most.
- Inside-out sequencing (10 minutes): Alternate between the inside and outside middle pockets every throw, forcing the pitcher to adjust release point on the fly rather than grooving one spot.
- Low-and-away ladder (10 minutes): Work the bottom row exclusively, since this is the location that generates the most ground balls and swings-and-misses in game situations.
- Full nine sweep (10 to 15 minutes): Call out a pocket number randomly and have the pitcher hit it before the next call, simulating the pressure of shaking off a bad location mid-game.
Solo pitchers benefit from the net’s bounce-back behavior for continuous reps, but that only works well when the frame is rigid and the netting has consistent tension, a sagging net kills the predictable rebound that makes fast solo repetition possible. A quick 10-minute block works fine for warmups; a full 30-minute session with all four drills builds real session volume. Progress by narrowing which pockets count as a strike as accuracy improves, then add movement or a crow-hop for velocity work once command is solid.
Keeping Your Net in Practice-Ready Shape
A quick glance before every session catches most problems before they become safety issues. Check that all pins are seated, the net has no new tears, and padding hasn’t shifted out of position.
- Every few weeks, inspect stitching around each pocket opening and the twine or bungee connections for fraying.
- Wipe down and fully dry the net before folding it away. Trapped moisture leads to mildew, and prolonged UV exposure fades and weakens netting fibers over a season.
- Store frames disassembled over winter rather than left standing outdoors.
- For a stretched or snapped bungee, replace just that section rather than the whole lacing run.
When re-lacing a pocket, work on one pocket at a time and test with a few soft tosses before returning to full-speed pitches, that keeps tension even across all nine pockets instead of loosening the ones next to your repair.
Why Youth Coaches Keep Coming Back to Nine-Pocket Nets
Nine-hole nets earn their place in youth practice because they turn abstract instruction into something a kid can see and chase. Instead of “throw it low,” a pitcher aims at pocket seven. That specificity is what actually changes behavior over a season, not just a single bullpen.
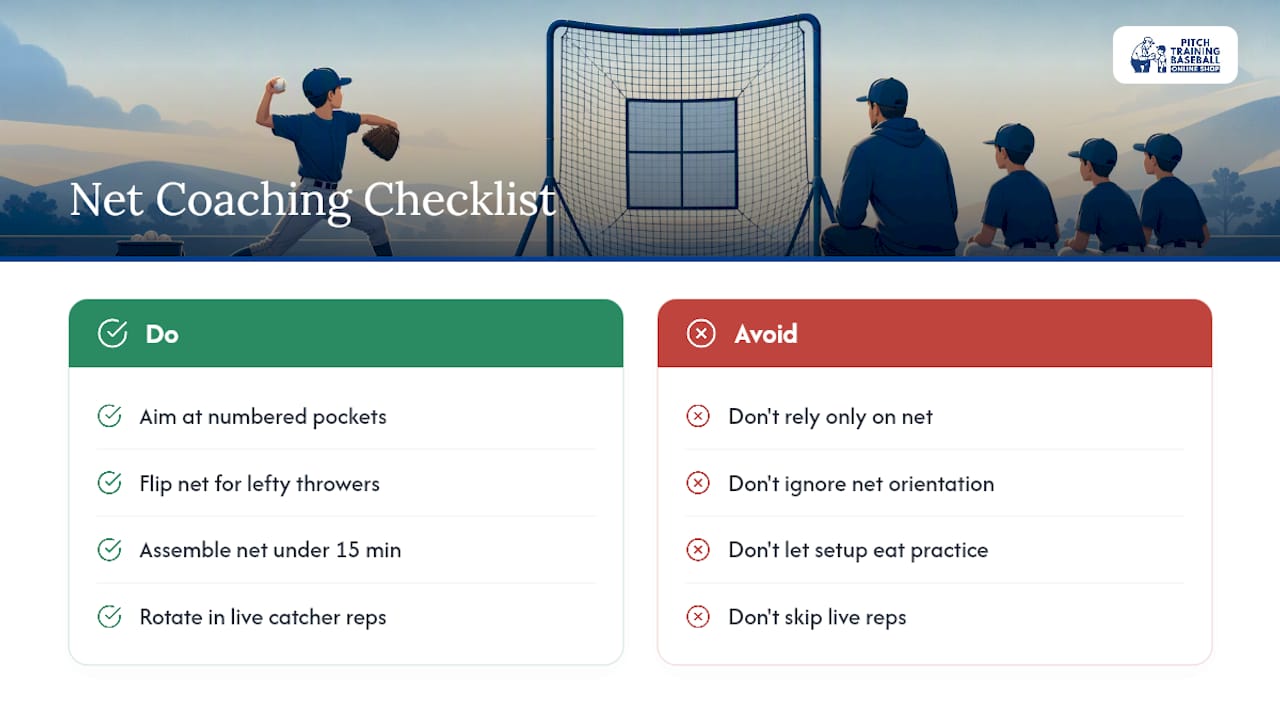
Coaches running a lefty pitcher setup know the orientation flips depending on the thrower, and getting that wrong undoes half the value of the drill. Speed matters too. A strike zone net assembled in under 15 minutes keeps a practice session from bleeding time into setup instead of reps.
Where these nets fall short is live-game feel. A pocket doesn’t react to a swing, doesn’t call a pitch, and can’t simulate a real hitter shifting in the box. Once a pitcher has command against the net, rotate in a live catcher or bullpen work to test whether that accuracy holds up under actual game pressure. Net drills build the foundation; live reps confirm it transfers.
— Albert
A Coach-Ready Pitching Net Option Worth Considering
If you’d rather skip the parts inventory and pin counting altogether, consider a pitching training kit that bundles training balls and instructional materials built around pocket-based accuracy work, without the DIY guesswork of building your own frame from PVC and tarp.

Look for three things before buying any net setup: frame material that can handle repeated tensioning without warping, an anchoring system that’s actually included rather than sold separately, and a clear return policy in case sizing or distance doesn’t fit your space. The Pitching Target Net with Colorful Strike 9-Zone gives coaches the nine-pocket layout described throughout this guide, ready to assemble in a single session.
Browse the full Pitch Training Baseball collection to compare kit options, or check the Softball-specific kit if your practice distances follow softball regulation rather than baseball. Either way, the next step is simple: pick the kit that matches your practice space and get a session on the calendar this week.
Sources
- BPTRAIN9 9-Hole Pitching Target ASSEMBLY INSTRUCTIONS
- VIVOHOME 9 Hole Pitching Net User Manual Pdf Download | ManualsLib
- Pitching Target Guide: Improve Accuracy & Training Success
- DIY Guide to Building a Pitching Pocket 9 Hole
FAQ
Are 9-Hole Pitching Nets Easy to Set Up?
Yes, most 9-hole nets go from box to practice-ready in 20 to 40 minutes for a first-time build. Frame connection and leg insertion are straightforward, though manufacturer manuals recommend two people for tensioning steps to avoid frame strain or pinched fingers.
How Do I Make a Pitching Net at Home?
A DIY version typically uses PVC piping for the frame, tarp material for the border, and netting stretched across nine cut pockets, following the dimensions and material list in this build guide. It takes more time and tools than an assembled kit but costs less upfront if you already have basic hardware on hand.
What Is a 9-Hole Pitching Net Used For?
It gives pitchers a visual target broken into nine zones, usually mapped to the corners, middle, and edges of the strike zone, for location-specific practice. Coaches use it to build command on specific pitches, like low-and-away or high-inside, rather than just working on generic accuracy.
What Is the Best Pitching Target Net for Baseball and Softball?
The best option depends on whether you want assembled convenience or a lower-cost DIY build, but for youth coaching, a nine-pocket net with sturdy anchoring and clear strike-zone markings covers both sports. Pitchtrainingbaseball’s Pitching Target Net with Colorful Strike 9-Zone fits standard youth baseball and softball distances with the same pocket layout described in this guide.
How Far Should the Net Be From the Pitcher?
Youth baseball practice typically runs 40 to 46 feet from the rubber, youth softball closer to 35 to 40 feet, and adult baseball at the regulation 60 feet 6 inches. Measure from the pitcher’s front foot landing spot, not the mound’s starting position, since that’s the actual release point you’re training around.