


The best youth pitching practice plan is short, age-appropriate, and built around command instead of velocity. It fits inside Pitch Smart’s pitch-count and rest guidelines, borrows structure from the Little League coach-pitch model, and treats arm care as a non-negotiable part of every session, not an afterthought bolted on at the end.
TL;DR:
- Youth pitchers should focus on command and accuracy drills, with less emphasis on velocity, especially at younger ages under 11.
- Practice sessions must be tailored to age groups, with shorter, less intense drills for 7-8-year-olds and controlled bullpen work for 9-12-year-olds.
- Tracking strike percentage and avoiding high-effort throws are more important than pitch velocity for injury prevention and improvement.
- Strict pitch count limits and proper rest days are essential to prevent arm injuries, with rules adjusting based on age and effort level.
- Using appropriately sized equipment and simple cues enhances technique, safety, and consistency, reducing the risk of bad habits and injury.
Table of Contents
- Building an Age-Appropriate Pitching Practice Plan for Youth Players
- What Drills Build Command Without Overworking Young Arms?
- How Many Pitches Should a Youth Pitcher Throw and Rest?
- Why Simple Coaching Cues Beat Complicated Mechanics Lessons
- Running a Bullpen Coaches Can Actually Track
- Author Perspective and Coaching Proof Points
- Keeping Young Pitchers Mentally Sharp Between Pitches
- Choosing the Right Gloves, Balls, and Protective Gear for Young Pitchers
- Why Most Practice Plans Fail Before the First Pitch Is Thrown
- Gear That Makes Safe Reps Easier to Get
- Sources
Building an Age-Appropriate Pitching Practice Plan for Youth Players
A pitching practice plan for youth players only works if the session length and drill mix match the kid’s actual developmental stage. A 7-year-old and a 12-year-old should never run the same practice, even though most rec-league schedules pretend otherwise.
Ages 7 to 8 (45 to 60 minutes). Skip the bullpen entirely. At this age, throwing accuracy games, catch progressions, and general athleticism matter far more than mound work. Spend the session on:
- Dynamic warm-up and short-distance catch (10 minutes)
- Throwing games that reward accuracy, not speed (15 minutes)
- Basic fielding position work off a tee or soft toss (15 minutes)
- Free play or relay games to close on a high note (10 to 15 minutes)
Ages 9 to 10 (60 to 75 minutes). This is where a real bullpen enters the picture, but in small, controlled doses. A workable session looks like:
- Warm-up and arm-care circuit (10 minutes)
- Mechanics walk-through with a wall drill or towel drill (15 minutes)
- Light bullpen, 10 to 15 pitches, focused on one cue only (15 minutes)
- Fielding practices (PFP) mixed with a fun accuracy challenge (15 to 20 minutes)
- Cooldown and stretch (5 to 10 minutes)
Ages 11 to 12 (75 to 90 minutes). Now you can add long toss and a dedicated bullpen segment, plus situational reps like holding runners and covering bunts:
- Warm-up, dynamic stretch, arm-care band work (10 to 15 minutes)
- Long toss progression (10 minutes)
- Bullpen with mechanics focus, 20 to 25 pitches (20 minutes)
- Situational PFP and game-speed reps (20 minutes)
- Cooldown and arm-care recovery (10 minutes)
Practical guides on structuring these blocks generally recommend spending 10 to 15% of total practice time on pitching-specific work, with the rest split across hitting, fielding, and conditioning. Little League’s own coach-pitch program uses a similar week-by-week model, scaling up bullpen intensity gradually across a season rather than all at once.
For a one-week workload example: if a kid throws pitches in a practice bullpen and in a game, the practice day in between should be a light day, mostly PFP and catch, avoiding max-effort throws. Got fewer pitchers than usual? Shrink the bullpen rotation and add more fielding reps instead of stretching arms further. Limited field time? Run bullpens against a fence or target net while another group hits, so nobody stands around waiting.
What Drills Build Command Without Overworking Young Arms?
Command comes from repetition, not raw effort, and the best youth pitching drills make that repetition measurable so kids can see themselves improving week to week.
- Bucket drill. Set five buckets or cones at different spots inside the strike zone. Ten pitches, one point per bucket hit. Progress by shrinking the target zone as accuracy improves.
- Net or strike-zone drill. A marked net with defined zones lets a pitcher throw 15 to 20 pitches and track a strike percentage in real time, no catcher required.
- Towel drill. Snap a towel through the release point without a ball to isolate arm path and follow-through, especially useful for kids who rush their delivery.
- Balance and leg-drive drill. Have the pitcher hold their finish position for a three-count after every throw. This alone fixes more falling-off-the-mound problems than any verbal cue.
- Long toss progression. Start at 30 feet, add 10 to 15 feet every few throws, and stop increasing distance once the arc gets flat or effort spikes.
- PFP partner rotation. Pair pitchers on comeback throws and bunt coverage during hitting stations so nobody is standing idle between batting practice groups.
Pro Tip: *Track strike percentage instead of pitch velocity for anyone under 13.
The Command Challenge format, four zones, 20 pitches, tracked accuracy, works well because it gives kids a number to beat next week instead of a vague “throw strikes” instruction.
How Many Pitches Should a Youth Pitcher Throw and Rest?
Pitch counts and rest days are the single biggest lever for preventing arm injuries, and the data backs that up directly: reviews of youth pitching injuries consistently point to total pitch volume and inadequate rest as the top risk factors, ahead of mechanics flaws or even pitch type.
Pitch Smart’s daily limits, built from years of injury-tracking data, are the standard every coach should post in the dugout:
These figures come directly from Pitch Smart’s guidelines, and they apply to games, but the smartest coaches count bullpen throws against the same daily total, especially any throw made at more than 75% effort.
Pitch type matters just as much as pitch count. Medical guidance commonly points to minimum ages before introducing breaking pitches: change-ups around age 10, curveballs around 14, and sliders not before 16. The torque a slider puts on an undeveloped elbow simply isn’t worth the strikeout at age 11.
A few non-negotiable rules to run every practice by:
- Any throw at max effort, in a bullpen or in warm-up games, counts toward the daily pitch total.
- A pitcher who reports elbow or shoulder pain stops throwing that day, full stop, no “just a few more.”
- Fatigue, not the calendar, decides when a kid comes off the mound. Watch for dropped elbow, shortened stride, or a sudden velocity drop.
- Sports-medicine reviews recommend at least three months completely off from pitching every year to let the shoulder and elbow recover from repetitive stress.
Coaches looking for a deeper breakdown of weekly workload can check this youth pitching frequency guide for age-specific throwing limits beyond game day.
Why Simple Coaching Cues Beat Complicated Mechanics Lessons
Repeatability beats velocity at every age under 14. A pitcher who can throw the same delivery ten times in a row, even a modest one, will out-perform a harder thrower with inconsistent mechanics once the game gets tight. Little League’s own coaching guidance leans hard into this idea, urging coaches to keep instruction simple and consistent rather than layering on five corrections at once.
Pick three or four cues for the entire season and stop there:
- Balance point at the top of the leg lift
- Push off the rubber, don’t just step
- Glove side pointed at the target through release
- Finish with the back shoulder over the front knee
Build complexity in order: feel work first (no ball), then mechanics drills, then bullpens, then live game simulation. Skipping straight to bullpens with an unbalanced delivery just cements bad habits at higher velocity.
Pro Tip: If a kid suddenly can’t find the plate after weeks of decent command, don’t add a new cue. Go back to the towel drill and rebuild the one thing that broke. For more on this ladder, see this coach’s guide to youth pitching mechanics.
Running a Bullpen Coaches Can Actually Track
A well-run bullpen follows the same four-part flow every time, which makes it easier to spot when something’s off:
- Warm-up throws from short distance, building toward full extension.
- Progressive-intensity throws, working up to about 75% effort before any competitive pitch.
- Target work: 15 to 25 pitches depending on age, tracked for strikes.
- Cooldown throws and a light stretch, never skipped.
Log three things every session: total pitch count, strike percentage, and any visible fatigue signal (dropped elbow, shortened stride, grimacing). A notebook or phone note works fine, the format matters less than doing it consistently. Reviews on youth arm injury risk suggest tracking perceived exertion by age, since a max-effort bullpen the same week as a hard game outing stacks risk fast. Use bullpen strike percentage, not raw stuff, to decide who starts Saturday.
Author Perspective and Coaching Proof Points
Pitchtrainingbaseball exists to give coaches and parents tools that make safe, structured practice easier to run, not harder. Albert has written extensively on youth pitching frequency and daily pitching habits, and this piece reflects that same execution-first approach.
Keeping Young Pitchers Mentally Sharp Between Pitches
Mechanics get most of the attention in youth pitching, but a kid who can’t reset between pitches will unravel just as fast as one with a flawed delivery. Mental training at this age doesn’t need to look like sports psychology. It needs to look like a simple, repeatable routine.
Teach a pre-pitch routine early: get the sign, take a breath, find the target, throw. The routine itself matters less than the consistency of it. Kids who rush from one pitch to the next, especially after giving up a hit, tend to compound one bad pitch into three.
After a walk or a hit batter, the best tool is a physical reset, not a pep talk. Have the pitcher step off the rubber, wipe the dirt off their cleat, or adjust their hat. That two-second pause breaks the emotional spiral before it starts. Coaches who yell instructions from the dugout mid-inning often make this worse, not better; a single word (“breathe,” “target”) lands far better than a full sentence shouted across the field.
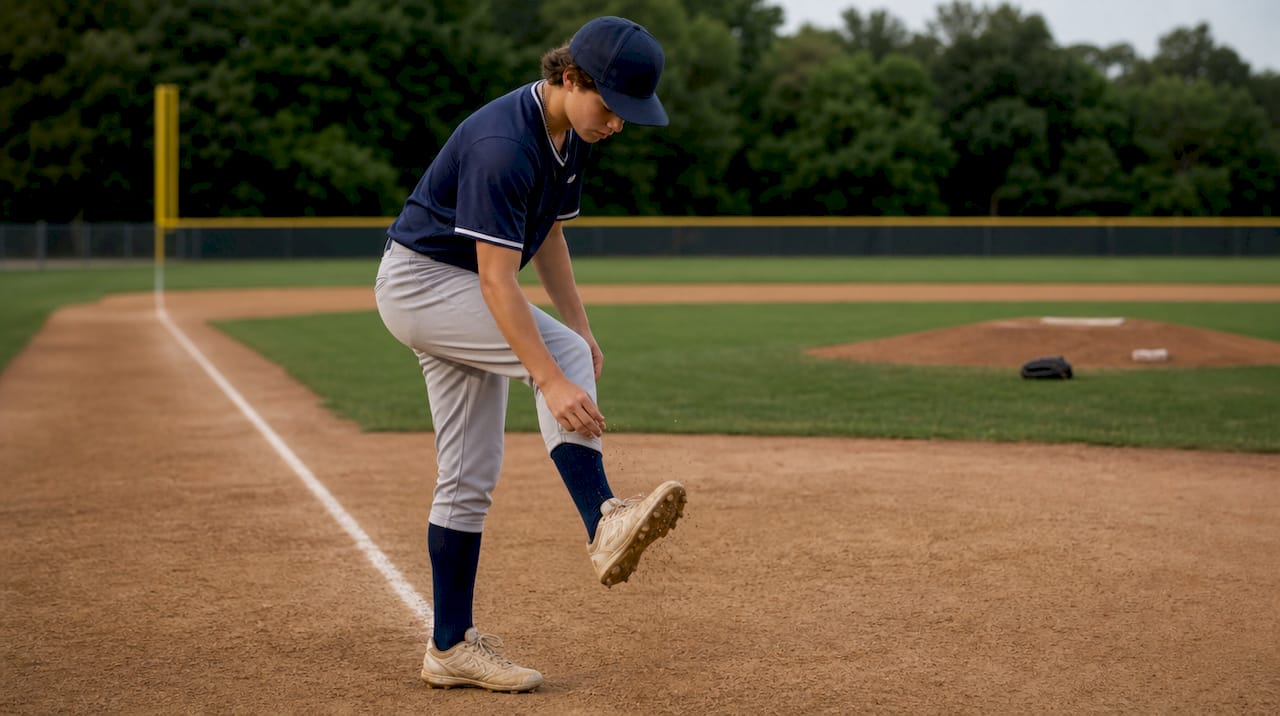
Command challenges and bucket drills double as mental training in disguise. Tracking a strike percentage against yourself gives a kid a concrete, controllable goal instead of an abstract fear of walking someone. That shift from outcome anxiety to process focus is often the single biggest jump a young pitcher makes between ages 10 and 12.
Choosing the Right Gloves, Balls, and Protective Gear for Young Pitchers
Equipment sized wrong is one of the most overlooked reasons a young pitcher’s mechanics look off. A glove that’s too big forces extra hand and wrist movement just to control the ball, which throws off release timing.
For gloves, youth pitchers generally do best with an 10.5 to 11.5 inch glove up through age 10, moving toward 11.5 to 12 inches by ages 11 to 12. Bigger isn’t better here; a glove a young pitcher can close and control beats one that looks like a pro model on a small hand.
Ball selection matters just as much for safe repetition. Softer training balls, sized and weighted like a regulation ball but with reduced-impact cores, let pitchers rack up reps on drills like the bucket or net drill without the sting (or the fear of getting hit) that limits practice volume. Standard hard balls still belong in bullpens and games, but a mix of both across a practice keeps arm feel honest while protecting fielders during high-rep drill stations.
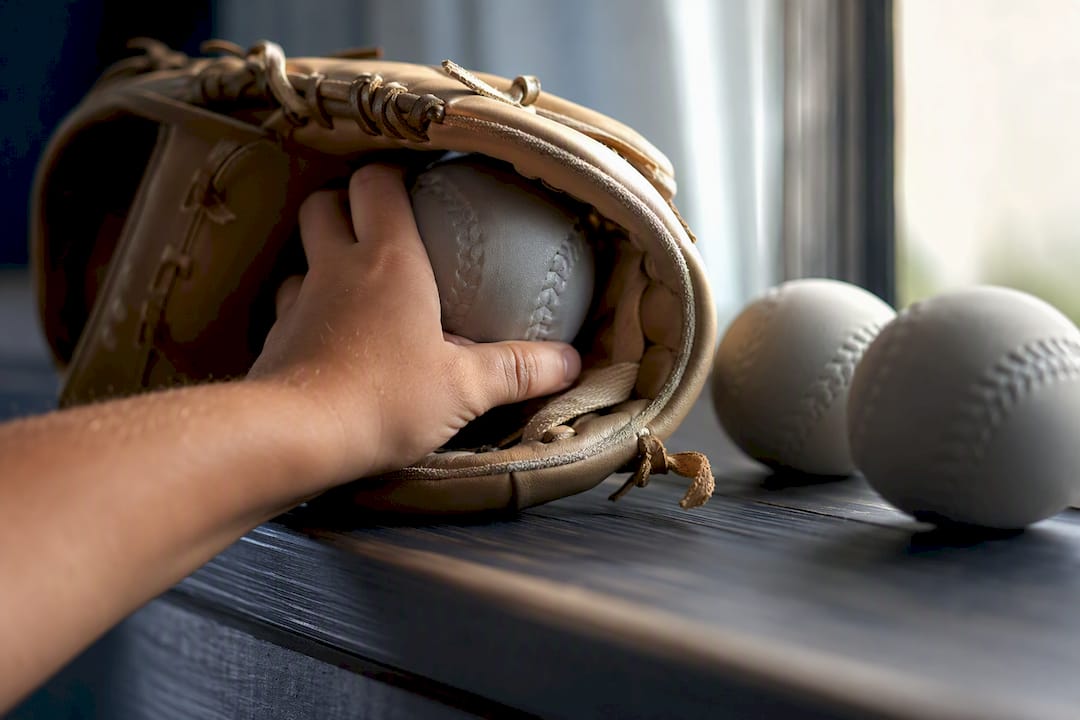
Protective gear rarely gets discussed for pitchers specifically, but a properly fitted helmet during batting practice reps and a well-fitted sliding mitt for any pitcher who also plays the field round out a basic gear bag. None of it substitutes for pitch-count discipline, but the right gear removes friction that keeps kids from getting quality reps in the first place.
Why Most Practice Plans Fail Before the First Pitch Is Thrown
Most youth pitching practice plans fail for one reason: they’re copied from what a high school or travel team does, then shrunk down slightly. That’s backwards. A 9-year-old doesn’t need a scaled-down college bullpen. They need a completely different session built around attention span, joint development, and the reality that most kids at that age haven’t finished growing the bones in their elbow.
The conventional wisdom, more reps equals more improvement, actually breaks down under scrutiny once you look at injury data. Pitch volume, not talent or work ethic, is the strongest predictor of who ends up with a sore arm by August. That means the coach who runs the shortest, most disciplined bullpen often develops the healthiest pitcher three seasons later, even though it looks like less is happening in July.
If there’s one thing to fix immediately, it’s this: stop treating pitch counts as a suggestion for game day only. Bullpen throws count. Warm-up throws at high effort count. Track them the same way, every single practice, and the rest of this plan mostly takes care of itself.
— Albert
Gear That Makes Safe Reps Easier to Get
Drills like the bucket challenge and the net-zone drill only work as well as the target does. A strike zone target net with clearly marked zones turns a vague “throw strikes” instruction into an actual number a kid can chase week over week, without needing a second person to catch every rep.

For younger groups or cramped backyard space, a set of soft training balls lets pitchers rack up the bucket drill or towel drill reps without the sting of a hard ball or the fear that stops a kid from committing to a throw. That fear factor quietly kills more practice reps than coaches realize. These tools are designed so a parent or coach can set up an accuracy station in minutes, no batting cage or dedicated field required, and get more quality reps into a short practice window instead of losing time to setup and retrieval. Check the target net and strike-zone kit to see which size fits your practice space.
Sources
- Mlb
- The Complete Little League® Coach Pitch Program
- Review: Youth pitching risk factors and prevention strategies
- Baseball practice plan: templates, drills, and tips for every level
- When can kids throw a curveball? (Chris Koutures blog excerpt)