


Accurate pitching form is defined as a repeatable, biomechanically sound delivery that consistently places the ball in the intended location. The signs of accurate pitching form include a stable release point, proper stride alignment, and smooth kinetic chain sequencing from legs through hips to the throwing arm. Coaches and parents who understand these indicators give young players a clear roadmap for skill development and injury prevention. Pitchtrainingbaseball builds its entire training philosophy around these measurable mechanics, making it easier for families to practice with purpose.
1. What are the signs of accurate pitching form?
Accurate pitching mechanics produce three visible, measurable outcomes: a consistent release point, a straight stride line, and full hip-to-shoulder separation. When all three are present, the ball goes where the pitcher intends. When one breaks down, command suffers immediately.
The release point is the single most important accuracy indicator. A pitcher who releases the ball at the same spot on every pitch gives the catcher a predictable target and gives batters nothing to read. Variation of more than a few inches in release height or horizontal position produces wild pitches and walks.
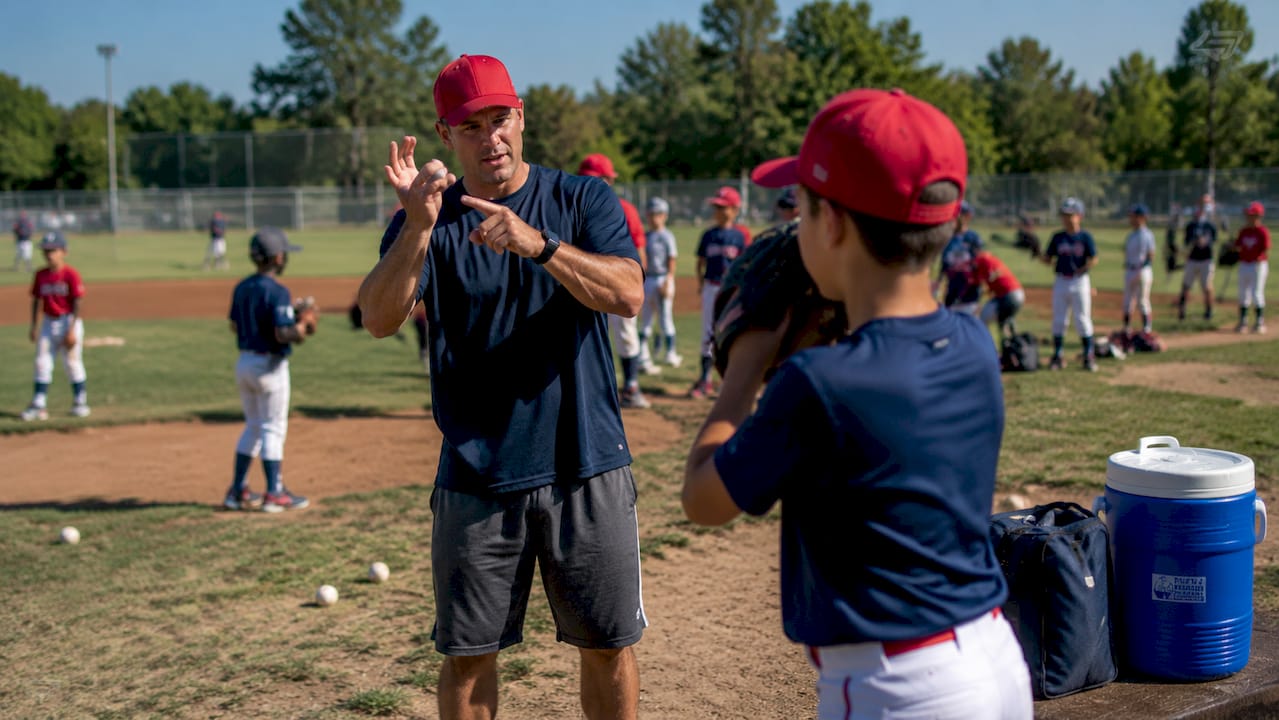
Stride alignment is equally telling. Optimal stride length for accurate pitching is 77–87% of the pitcher’s height, with the foot landing within two inches of a direct line from the mound to home plate. A foot that lands too far to the glove side or arm side throws the entire delivery off axis.
Hip-to-shoulder separation is the power and accuracy engine. Elite pitchers generate 50–60 degrees of hip-to-shoulder separation, creating a rubber-band effect that transfers energy up the kinetic chain. Average pitchers produce only 30–40 degrees. That gap explains most of the difference in both velocity and command between levels of play.
Pro Tip: Film your pitcher from the side and from behind home plate. Watch the release point across five consecutive pitches. If it moves more than a ball’s width in any direction, that is the first flaw to fix.
| Mechanical Sign | Elite Standard | Common Flaw |
|---|---|---|
| Hip-to-shoulder separation | 50–60 degrees | Less than 40 degrees |
| Stride length | 77–87% of height | Too short or inconsistent |
| Foot landing deviation | Within 2 inches of center line | Drifting arm side or glove side |
| Release point variation | Consistent across pitches | Drops or rises between pitches |
2. How does balance and posture contribute to precise pitching mechanics?
Balance is not a warmup concept. It is a direct predictor of command. A pitcher who cannot hold a steady balance point at the top of the leg lift will compensate somewhere in the delivery, and that compensation almost always shows up as a missed location.
Holding the balance point for two seconds without wobbling indicates sufficient core strength for consistent mechanics. That two-second hold is a simple, at-home test any parent can watch for. If the pitcher sways, rushes forward, or drops the knee too early, core stability is the issue to address before working on arm mechanics.
Shoulder posture has a direct effect on scapular movement. Poor shoulder posture negatively correlates with scapular biomechanics, which impairs pitching efficiency and repeatability. In plain terms, a pitcher who rounds the shoulders or collapses the chest cannot get the throwing arm into proper position. The result is inconsistent arm paths and elevated injury risk.
Glove side control is the posture element most coaches overlook. Proper glove side control stabilizes the torso and reduces workload on the throwing arm, improving command and reducing fatigue. A glove that flies open early pulls the front shoulder out and drags the release point off target. Teaching a young pitcher to tuck the glove toward the chest after front foot strike is one of the fastest fixes for high or outside misses.
Fatigue changes posture in predictable ways. As a pitcher tires, the head drops forward, the front shoulder opens early, and the stride shortens. Parents watching from the stands can spot these changes before the pitcher feels them.
- Core strength test: hold balance point for two seconds without swaying
- Shoulder check: chest up, shoulder blades pulled back at set position
- Glove side cue: tuck the glove to the chest at front foot strike
- Fatigue watch: look for dropped head and shortened stride after pitch 50
Pro Tip: Have your pitcher practice single-leg stands on a balance board or folded towel for two minutes a day. This builds the core stability needed to hold the balance point under game pressure.
3. What role does effort level and timing play in improving pitch accuracy?
Throwing at full effort is not the same as throwing accurately. Reducing effort to 85–90% improves location accuracy by 22% while maintaining 95% of pitch velocity. That tradeoff is almost always worth making, especially for youth pitchers still building their mechanics.
The reason full effort hurts accuracy is mechanical compensation. Throwing at 100% effort forces the body to recruit muscles out of sequence, breaking the kinetic chain and producing inconsistent release points. A pitcher who backs off slightly stays in better mechanical sequence from start to finish.
Timing cues are the checkpoints that keep the delivery on track. Here are the four most reliable ones:
- Elbow leads the arm. The elbow should reach shoulder height before the forearm and hand rotate forward. An elbow that lags behind produces arm drag and low or inside misses.
- Hand stays behind the ball. At the moment of arm acceleration, the throwing hand should be behind and slightly under the ball. A hand that rolls to the side creates spin inconsistency and location errors.
- Smooth arm circle. The arm path from glove break to release should feel like one continuous motion. Hitches or pauses in the arm circle disrupt timing and release point.
- Front foot strike triggers release. The moment the front foot lands, the hips should already be rotating. If the arm is still going back when the foot lands, the timing is off and the pitch will be high.
The blindfold drill is one of the most effective tools for building timing awareness. The blindfold drill boosts command consistency by 15–20% after three weeks of practice by forcing the pitcher to rely on body feel rather than visual cues. The drill works by having the pitcher throw at reduced effort with eyes closed, focusing entirely on where the arm and body feel at release. That proprioceptive training transfers directly to game command.
Pro Tip: Run the blindfold drill at the end of practice, not the beginning. The pitcher’s mechanics are grooved from the session, and the drill locks in the feel of a correct delivery.
High school pitchers with good command hit their target zone 45–55% of the time. Elite college pitchers hit 60–65%. Those benchmarks give young players and parents a realistic accuracy goal to work toward, rather than chasing perfection on every pitch.
4. How to identify patterns of mechanical breakdowns that affect pitching accuracy
One bad pitch is noise. Three consecutive misses in the same direction are a signal. Three misses in a row in the same location are an early warning sign of form decline, not bad luck. Recognizing that pattern early is the difference between a quick mechanical fix and a prolonged slump.
Each miss direction points to a specific mechanical cause. High misses usually mean the release point has dropped or the front side opened too early. Outside misses for a right-handed pitcher typically mean the stride foot landed too far to the arm side. Inside misses often trace back to a late elbow or a hand that rotated too early.
Arm drag is one of the clearest visual signs of mechanical breakdown. Early signs of mechanical issues manifest as consistent direction misses and arm drag, which should be corrected before injuries develop. Arm drag happens when the elbow drops below the shoulder at the point of acceleration, forcing the forearm to catch up late. The result is a flat, inaccurate pitch and added stress on the elbow and shoulder.
Consistent arm speed within 5% variation across pitches is key to repeatable release and accurate command. When arm speed drops, usually from fatigue or mental hesitation, the release point shifts and pitches miss their target. Parents can watch for a slower, more deliberate arm action as a fatigue indicator.
Simple self-checks that players and parents can use during practice:
- Stride line check: Place a piece of tape from the rubber to home plate. The stride foot should land within two inches of that line on every pitch.
- Release point shadow: Throw in sunlight and watch where the shadow of the throwing hand falls at release. Consistent shadows mean consistent release.
- Catcher feedback: Ask the catcher to call out miss direction after each pitch. Three calls in the same direction trigger a mechanical timeout.
- Video review: Film from directly behind the pitcher. Watch the arm path and stride foot landing across a set of 10 pitches. Look for the pitch where the pattern breaks.
Addressing youth pitching mistakes early prevents them from becoming habits. A flaw that goes uncorrected for a full season becomes part of the pitcher’s natural motion and takes much longer to fix.
Key takeaways
Accurate pitching form requires a consistent release point, proper stride alignment, and full hip-to-shoulder separation working together in a repeatable, rhythmic delivery.
| Point | Details |
|---|---|
| Release point consistency | A release point that varies more than a ball’s width produces immediate command loss. |
| Stride alignment | Foot landing within two inches of the center line keeps the delivery on axis and on target. |
| Hip-to-shoulder separation | Elite pitchers generate 50–60 degrees of separation; less than 40 degrees reduces both velocity and accuracy. |
| Effort level matters | Throwing at 85–90% effort improves location accuracy by 22% while preserving nearly full velocity. |
| Pattern recognition | Three consecutive misses in the same direction signal a mechanical breakdown, not random error. |
What I’ve learned watching young pitchers chase accuracy
Most parents assume that slowing down the delivery will fix accuracy problems. It almost never does. Pitching accuracy is a byproduct of a repeatable, rhythmic delivery, not a slowed-down motion. When a pitcher decelerates to aim, the timing between hips, torso, and arm falls apart. The ball goes somewhere, but rarely where it was intended.
The pitchers I’ve watched improve the fastest share one habit: they practice the same delivery at the same effort level, pitch after pitch, until the mechanics become automatic. They are not thinking about where the ball is going. They are thinking about how the delivery feels. Command is the result of that repetition, not the focus of it.
The other thing I’ve noticed is that parents often focus on the arm and ignore the lower half. The stride foot, the hip rotation, the balance point hold. Those are the foundations. A pitcher with a strong lower half and average arm mechanics will outperform a pitcher with a great arm and weak lower half mechanics every single time. The role of repetition in pitching cannot be overstated. Mechanics become accurate when they become automatic.
Technology helps. Video review, radar guns, and target nets all give useful feedback. But the catcher’s honest report after a bullpen session is still the most direct accuracy data available. If the catcher is moving their glove to catch the ball, the pitcher has a command problem worth addressing.
— Albert
How Pitchtrainingbaseball supports accurate pitching development
Young pitchers build command faster when they have a specific target to throw at, not just a catcher’s mitt in an open field.

The Pitching Target Net with Strike 9-Zone from Pitchtrainingbaseball gives players a color-coded strike zone divided into nine sections, so every bullpen session produces real location data. Pitchers can see exactly where each pitch lands and connect that feedback to the mechanical signs covered throughout this guide. Paired with pitch training baseballs designed for consistent grip and release feel, young players get the repetition and feedback loop that accurate mechanics require. Pitchtrainingbaseball’s tools are portable, adjustable, and built specifically for youth development, making them a practical choice for backyard practice or team training sessions.
FAQ
What is the most important sign of accurate pitching form?
A consistent release point is the single most critical indicator. When a pitcher releases the ball at the same spot on every pitch, command follows naturally.
How do I know if my child’s stride is correct?
The stride foot should land within two inches of a direct line from the rubber to home plate, and stride length should be 77–87% of the pitcher’s height. A simple tape line on the practice surface makes this easy to check.
Why does my pitcher throw accurately in practice but not in games?
Effort level is usually the cause. Pitchers often throw harder in games, which disrupts mechanical timing. Practicing at 85–90% effort builds the muscle memory that holds up under game pressure.
What does arm drag look like and why does it matter?
Arm drag occurs when the elbow drops below the shoulder during acceleration, causing the forearm to lag behind. It produces flat, inaccurate pitches and increases stress on the elbow and shoulder.
How many misses in a row signal a real mechanical problem?
Three consecutive misses in the same direction indicate a mechanical breakdown rather than random error. That pattern is the trigger to stop, reset, and check the specific flaw linked to that miss direction.
Recommended
- Defining Youth Pitching Mechanics: A Coach’s Guide – Pitch Training Baseball
- How to assess youth pitching performance step by step – Pitch Training Baseball
- Why Proper Pitching Technique Matters for Young Players – Pitch Training Baseball
- Fix youth pitching mistakes for better performance – Pitch Training Baseball