


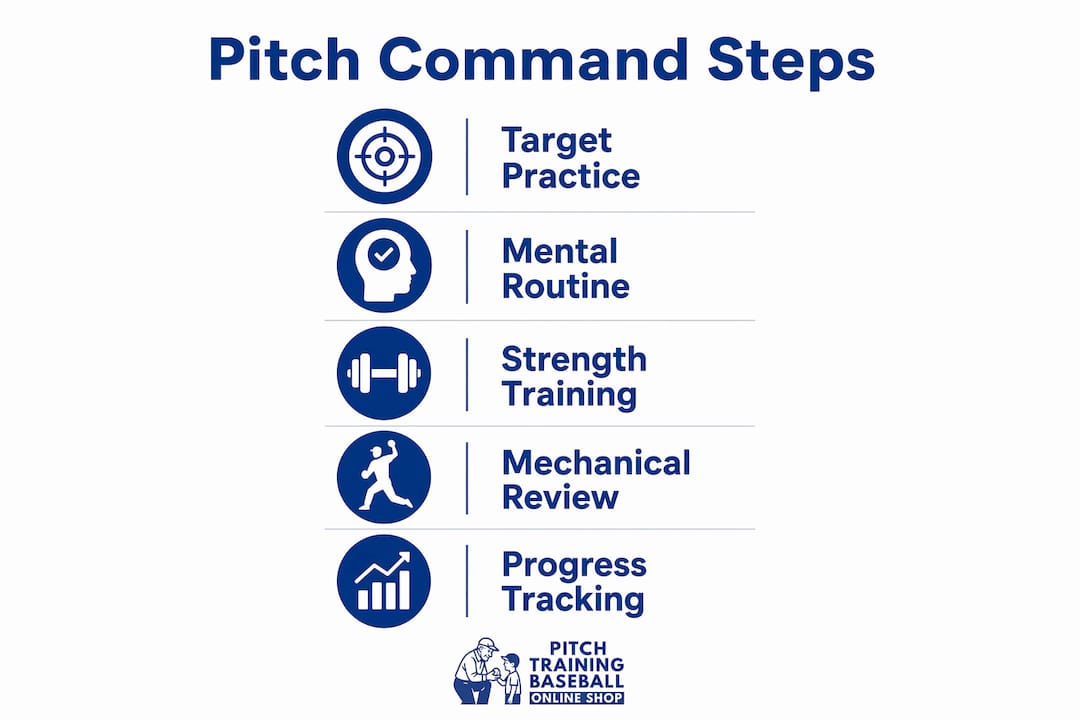
Improving pitch command comes down to a specific set of repeatable actions: flat-ground targeting at sub-maximal effort, micro-targeting drills, the towel drill for release point consistency, structured pre-pitch routines, and pelvis stability training. These pitch command improvement steps work together to build the neural pathways and physical mechanics that translate directly to hitting spots in games. Start with flat-ground work before moving to the mound, and track your hit rate against defined benchmarks as you progress.
Quick-start checklist:
- Throw flat-ground quadrant drills at sub-maximal effort, aiming for four strike zone corners from a moderate distance
- Use the towel drill for multiple repetitions before every bullpen to groove your release point without arm stress
- Practice micro-targeting: aim at a specific spot on the catcher’s gear, not the general mitt
- Run a four-step pre-pitch routine: deep breath, target visualization, one mechanical cue, full commitment
- Add pelvis stability work (isometric hinge holds) to your strength training days
- Track intended versus actual pitch location regularly during bullpen sessions
- Structure your week with defined pitch counts: 30–40 pitches on flat-ground days, 40–50 on bullpen days, and a visualization-only day before games
What are the best drills for pitch command improvement?
Deliberate target throwing is where command gets built. The key word is deliberate. Throwing without a specific target in mind is just exercise. Throwing at a defined spot with a measurable success standard is training.
The four drills that move the needle most:
- Flat-ground quadrant throws. Set up at 45–50 feet with a net or catcher. Tape a strike zone divided into four quadrants: up-and-in, up-and-away, down-and-in, down-and-away. Throw at 70% effort and track your hit rate. Target zone accuracy benchmarks vary by level: high schoolers should hit their intended quadrant at least 35–45% of the time, college pitchers at 45–55%, and professionals at 55–65%. Don’t move to the mound until you’re consistently hitting 55–65% at flat ground.
- Micro-targeting the catcher. Instead of aiming for the mitt, pick a two-inch spot on the catcher’s gear: a logo on the chest protector, a knee cap, a shoulder strap. “Aim small, miss small” is the principle. A miss by an inch from a two-inch target still lands in the zone.
- The towel drill. Hold a hand towel wrapped around your index and middle fingers. Execute your full delivery and snap the towel at the target. This drill removes location anxiety and forces pure mechanical repetition. Do 15–20 reps before every bullpen. If the towel wraps around your arm instead of snapping forward, your arm path needs attention.
- Two-spot narrowing drill. Throw an entire bullpen to just two locations: glove-side hip pocket and arm-side hip pocket. Narrowing focus to two spots lets the brain build stronger neural pathways for those locations before expanding to four corners.
The rationale for sub-maximal effort during these drills is straightforward. Throwing at full intensity masks mechanical flaws because the mound’s downward slope speeds up the body. Flat ground at 70% effort strips away that chaos and lets you actually feel where your release point is. Once those mechanics are grooved, they transfer to full-effort pitching.
Pro Tip: Repetition in pitching builds command only when each rep has a specific target and a scored result. Keep a simple tally: hits vs. misses per drill. That number tells you more than how the session felt.
How does your mental routine affect pitch command?
The mental side of command gets underestimated until a pitcher starts walking batters in pressure counts. Perfectionism leads to tension and overthinking that physically break down mechanics. The fix isn’t more focus on mechanics. It’s a shift from outcome thinking to process thinking.
A structured pre-pitch routine gives the brain a known sequence to run instead of spinning on results. The four checkpoints that work:
- Deep breath through the nose while getting the sign. This lowers heart rate and clears the last pitch from your mind.
- Visualize the pitch. See the trajectory, the location, the mitt closing around it. One to two seconds, no more.
- Lock on the target. Eyes go to the catcher’s glove, not the batter, not the umpire. Where your eyes go, your body follows.
- Exhale and deliver. Start your windup as you exhale. Beginning loose is critical for consistent mechanics.
Mental coaching experts consistently advocate shifting from perfectionism to effectiveness: pick a target, trust your stuff, and execute with intent. A pitcher chasing perfection tenses up, reduces arm speed, and loses the fluid mechanics that produce command in the first place. A pitcher focused on effectiveness commits to a target and throws with conviction.
The 1-1 count is where this mindset pays off most. Getting a strike at 1-1 puts you ahead of the hitter and lets you work your best pitches to your most consistent locations, rather than nibbling at corners out of fear. Process focus keeps you mentally prepared to pitch in exactly those moments.
Pro Tip: Journal your mental cues after each outing. Write down what thought or phrase helped you execute your best pitch that day. Over time, you’ll identify the two or three cues that consistently put you in the right headspace.
What strength exercises improve pitch control?
Physical command failures often start in the pelvis. Pelvis instability disrupts trunk rotation and makes a consistent release point nearly impossible. When the lead hip doesn’t stop rotating after foot plant, the trunk can’t rotate around it effectively, and the arm can’t reach authentic extension. The result is erratic pitch placement, usually arm-side and up.
The chain is direct: stop the pelvis, rotate the trunk, find the release point, command the ball. Break any link in that chain and command suffers.
Exercises that address the root causes:
- Isometric hinge holds. During the load and ride phase of your delivery, hold a hip hinge position for a beat longer than feels natural. This keeps the pelvis tilted and stable long enough for the arm and trunk to coordinate the release.
- Single-leg stability work. Exercises like single-leg Romanian deadlifts and lateral band walks build the hip strength needed to control pelvic rotation under the stress of a full delivery.
- Proprioception drill: eyes-closed throwing. Close your eyes before you start your windup and open them as your front foot lands. This forces your body to feel the delivery rather than guide the ball visually. After several weeks of this drill at two sessions per week, pitchers consistently show improved command consistency.
- Stride line drill. Put tape on the mound from the rubber toward home plate. Your stride foot must land within two inches of the tape every rep. Consistent foot landing is the foundation of directional consistency.
Explosive lower-body strength directly supports the drive phase that sets up proper sequencing. The goal isn’t identical mechanics on every pitch. It’s what coaches call “functional similarity”: a window of consistency in timing, orientation, and release conditions that allows small adjustments without losing command.
Command vs. control: what’s the difference and how should you structure sessions?
Control and command are not the same thing, and training them requires different approaches. Control is the ability to throw strikes. A pitcher with good control gets the ball over the plate, avoids walks, and keeps hitters honest. Command is more specific: it’s the ability to hit the catcher’s target seemingly at will. If the catcher sets up on the outside corner at the knees, a pitcher with command delivers the ball right there without the catcher having to move.
Command also requires mechanics repeatability and mental intent. You can have control without command. You can’t have command without control.
A practical weekly session structure:
| Day | Activity | Pitch count | Focus |
|---|---|---|---|
| Day 1 (post-game) | Light toss, band work | — | Active recovery only |
| Day 2 | Flat-ground targeting | 30–40 | Quadrant accuracy at 70% effort |
| Day 3 | Bullpen: four-corner drills | 40–50 | Full-speed location to all four corners |
| Day 4 | Light catch, visualization | 15–20 | Mental rehearsal of game sequences |
| Day 4 | Live at-bat drill | 30–40 | Command under game-like pressure |
| Day 5 | Pre-game warm-up | 20 | Establish feel for each pitch |
| Day 6 | Game | 80 | Execute the plan |
Two common mechanical errors wreck command in games. “Flying open” happens when the front shoulder and hip pull toward third base before the throwing arm is ready, causing the arm to drag and the pitch to miss high and arm-side. The fix: keep the front shoulder pointed at the catcher as long as possible, and tuck the glove into the chest at rotation rather than letting it fly open. “Rushing” happens when the upper body gets ahead of the lower body, causing inconsistent release points. The fix: lead with the front hip toward home plate first, maintaining balance longer on the back leg.
Tracking intended vs. actual pitch location every bullpen session gives you objective feedback that feel alone can’t provide. Tools like Rapsodo and TrackMan make this automatic, but a catcher who calls out misses and a simple tally sheet accomplish nearly the same thing.
How does video analysis help you fix mechanical flaws?
Pitch command relies on a chain of biomechanical events that happens in under a second. Self-diagnosing whether your stride was two inches off or your release point was slightly early is nearly impossible in real time. Video changes that.
Slow-motion footage from even a standard smartphone, shot from the side and from behind the mound, reveals the four most common command killers: flying open, rushing, inconsistent posture (head movement at release), and steering the ball by decelerating the arm. Each of these shows up clearly on video but is almost invisible to the pitcher in the moment.
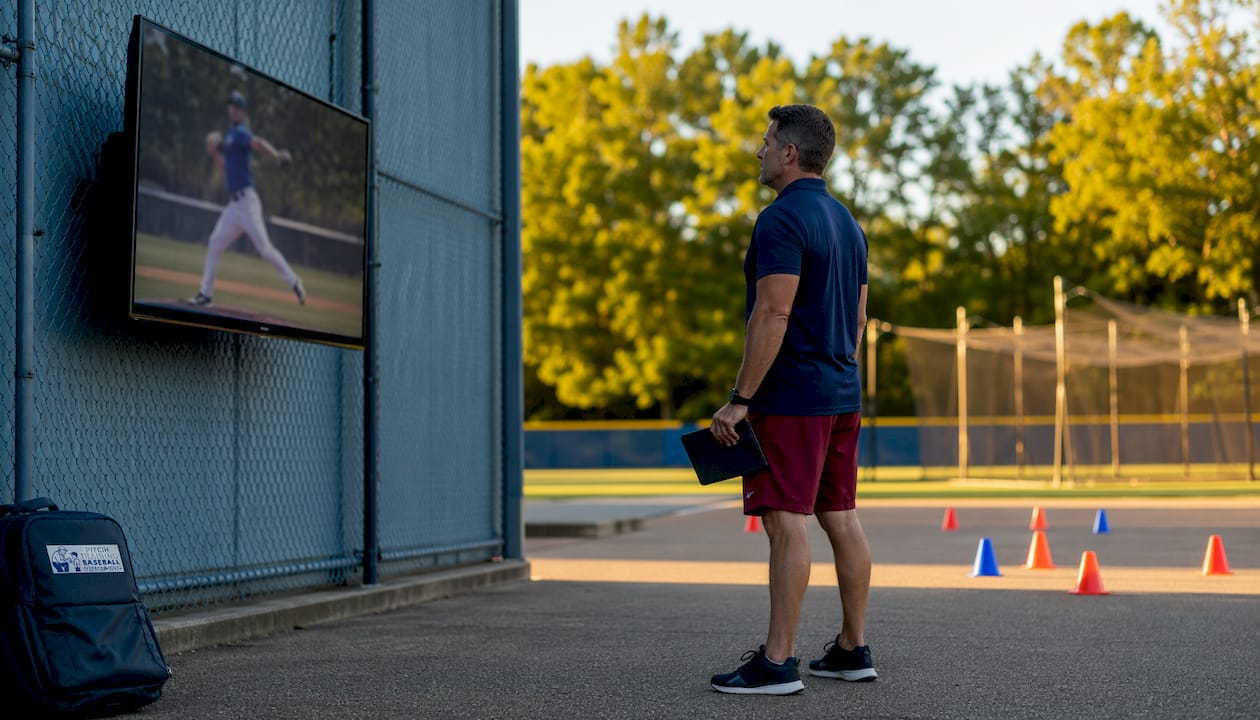
The most useful camera angles are directly behind the pitcher (to see stride direction and glove-side discipline) and from the first-base side at 90 degrees (to see sequencing, hip-shoulder separation, and release point height). Review footage immediately after a bullpen session while the physical sensations are still fresh. The gap between what you felt and what the video shows is usually the most instructive part.
Advanced tools like Rapsodo and TrackMan add a data layer: spin rate, spin axis, velocity, and exact pitch location. For command work, the key metric is the gap between intended and actual location. Watching that gap shrink over weeks of structured training is the clearest sign that your pitching form is genuinely improving. A private pitching coach using slow-motion video can isolate a specific mechanical flaw in one session that might take months to identify through feel alone.
How do you set realistic command goals and track progress?
Vague goals produce vague results. “Throw more strikes” tells you nothing about whether you’re improving. A specific target like “hit my intended quadrant 45% of the time on flat ground by the end of this month” gives you a number to chase and a clear verdict at the end of each session.
Set benchmarks that match your level. High schoolers working toward 35–45% quadrant accuracy on flat ground have a concrete starting point. College pitchers targeting 45–55% know exactly when they’ve earned the right to move to the mound for that drill. Progress tracking doesn’t require expensive technology. A simple notebook with date, drill, pitches thrown, and hits vs. misses gives you a trend line over weeks.
Assessing your pitching performance step by step means revisiting your benchmarks every two to three weeks and adjusting the drill difficulty when you’re consistently hitting your target rate. When flat-ground quadrant accuracy is solid, add the mound. When two-spot drills are dialed in, expand to four corners. When bullpen command is consistent, add a live hitter. Each progression introduces a new variable and a new benchmark to hit.
One underused tracking method: after each game, note the counts where you lost command and the pitch type involved. Patterns emerge quickly. If you consistently miss arm-side on 1-1 fastballs, that’s a specific problem with a specific drill solution, not a general command issue.
Key Takeaways
Pitch command improves through a combination of deliberate target drills, a consistent pre-pitch mental routine, pelvis stability training, and objective progress tracking tied to level-appropriate benchmarks.
| Point | Details |
|---|---|
| Flat-ground drills first | Build quadrant accuracy at 70% effort before moving to the mound; hit 55–65% before progressing. |
| Mental routine matters | A four-step pre-pitch sequence (breath, visualize, lock target, exhale and deliver) reduces overthinking and tension. |
| Pelvis stability is foundational | Stopping the lead hip after foot plant enables trunk rotation and a consistent release point. |
| Command vs. control | Control means throwing strikes; command means hitting the catcher’s exact target, which requires repeatable mechanics. |
| Track intended vs. actual location | Objective pitch-location data accelerates improvement faster than feel-based feedback alone. |
Build your command with the right training tools

Drills only work when you have a target worth throwing at. Pitchtrainingbaseball’s 9-zone pitching target net divides the strike zone into nine color-coded squares, making micro-targeting drills and quadrant work measurable from day one. Pair it with Pitchtrainingbaseball’s training baseballs designed for high-repetition command work, and you have everything needed to run the flat-ground and four-corner drills described in this guide. Both tools are portable, durable, and built for the kind of daily repetition that actually moves the needle on command.
Recommended
- What Is Pitch Command? A Guide for Youth Baseball – Pitch Training Baseball
- Throwing Accuracy Improvement Guide for Youth Baseball – Pitch Training Baseball
- Signs of Accurate Pitching Form: A 2026 Youth Guide – Pitch Training Baseball
- Fix youth pitching mistakes for better performance – Pitch Training Baseball